Phonics Friday Part 2 – Configurable word wall

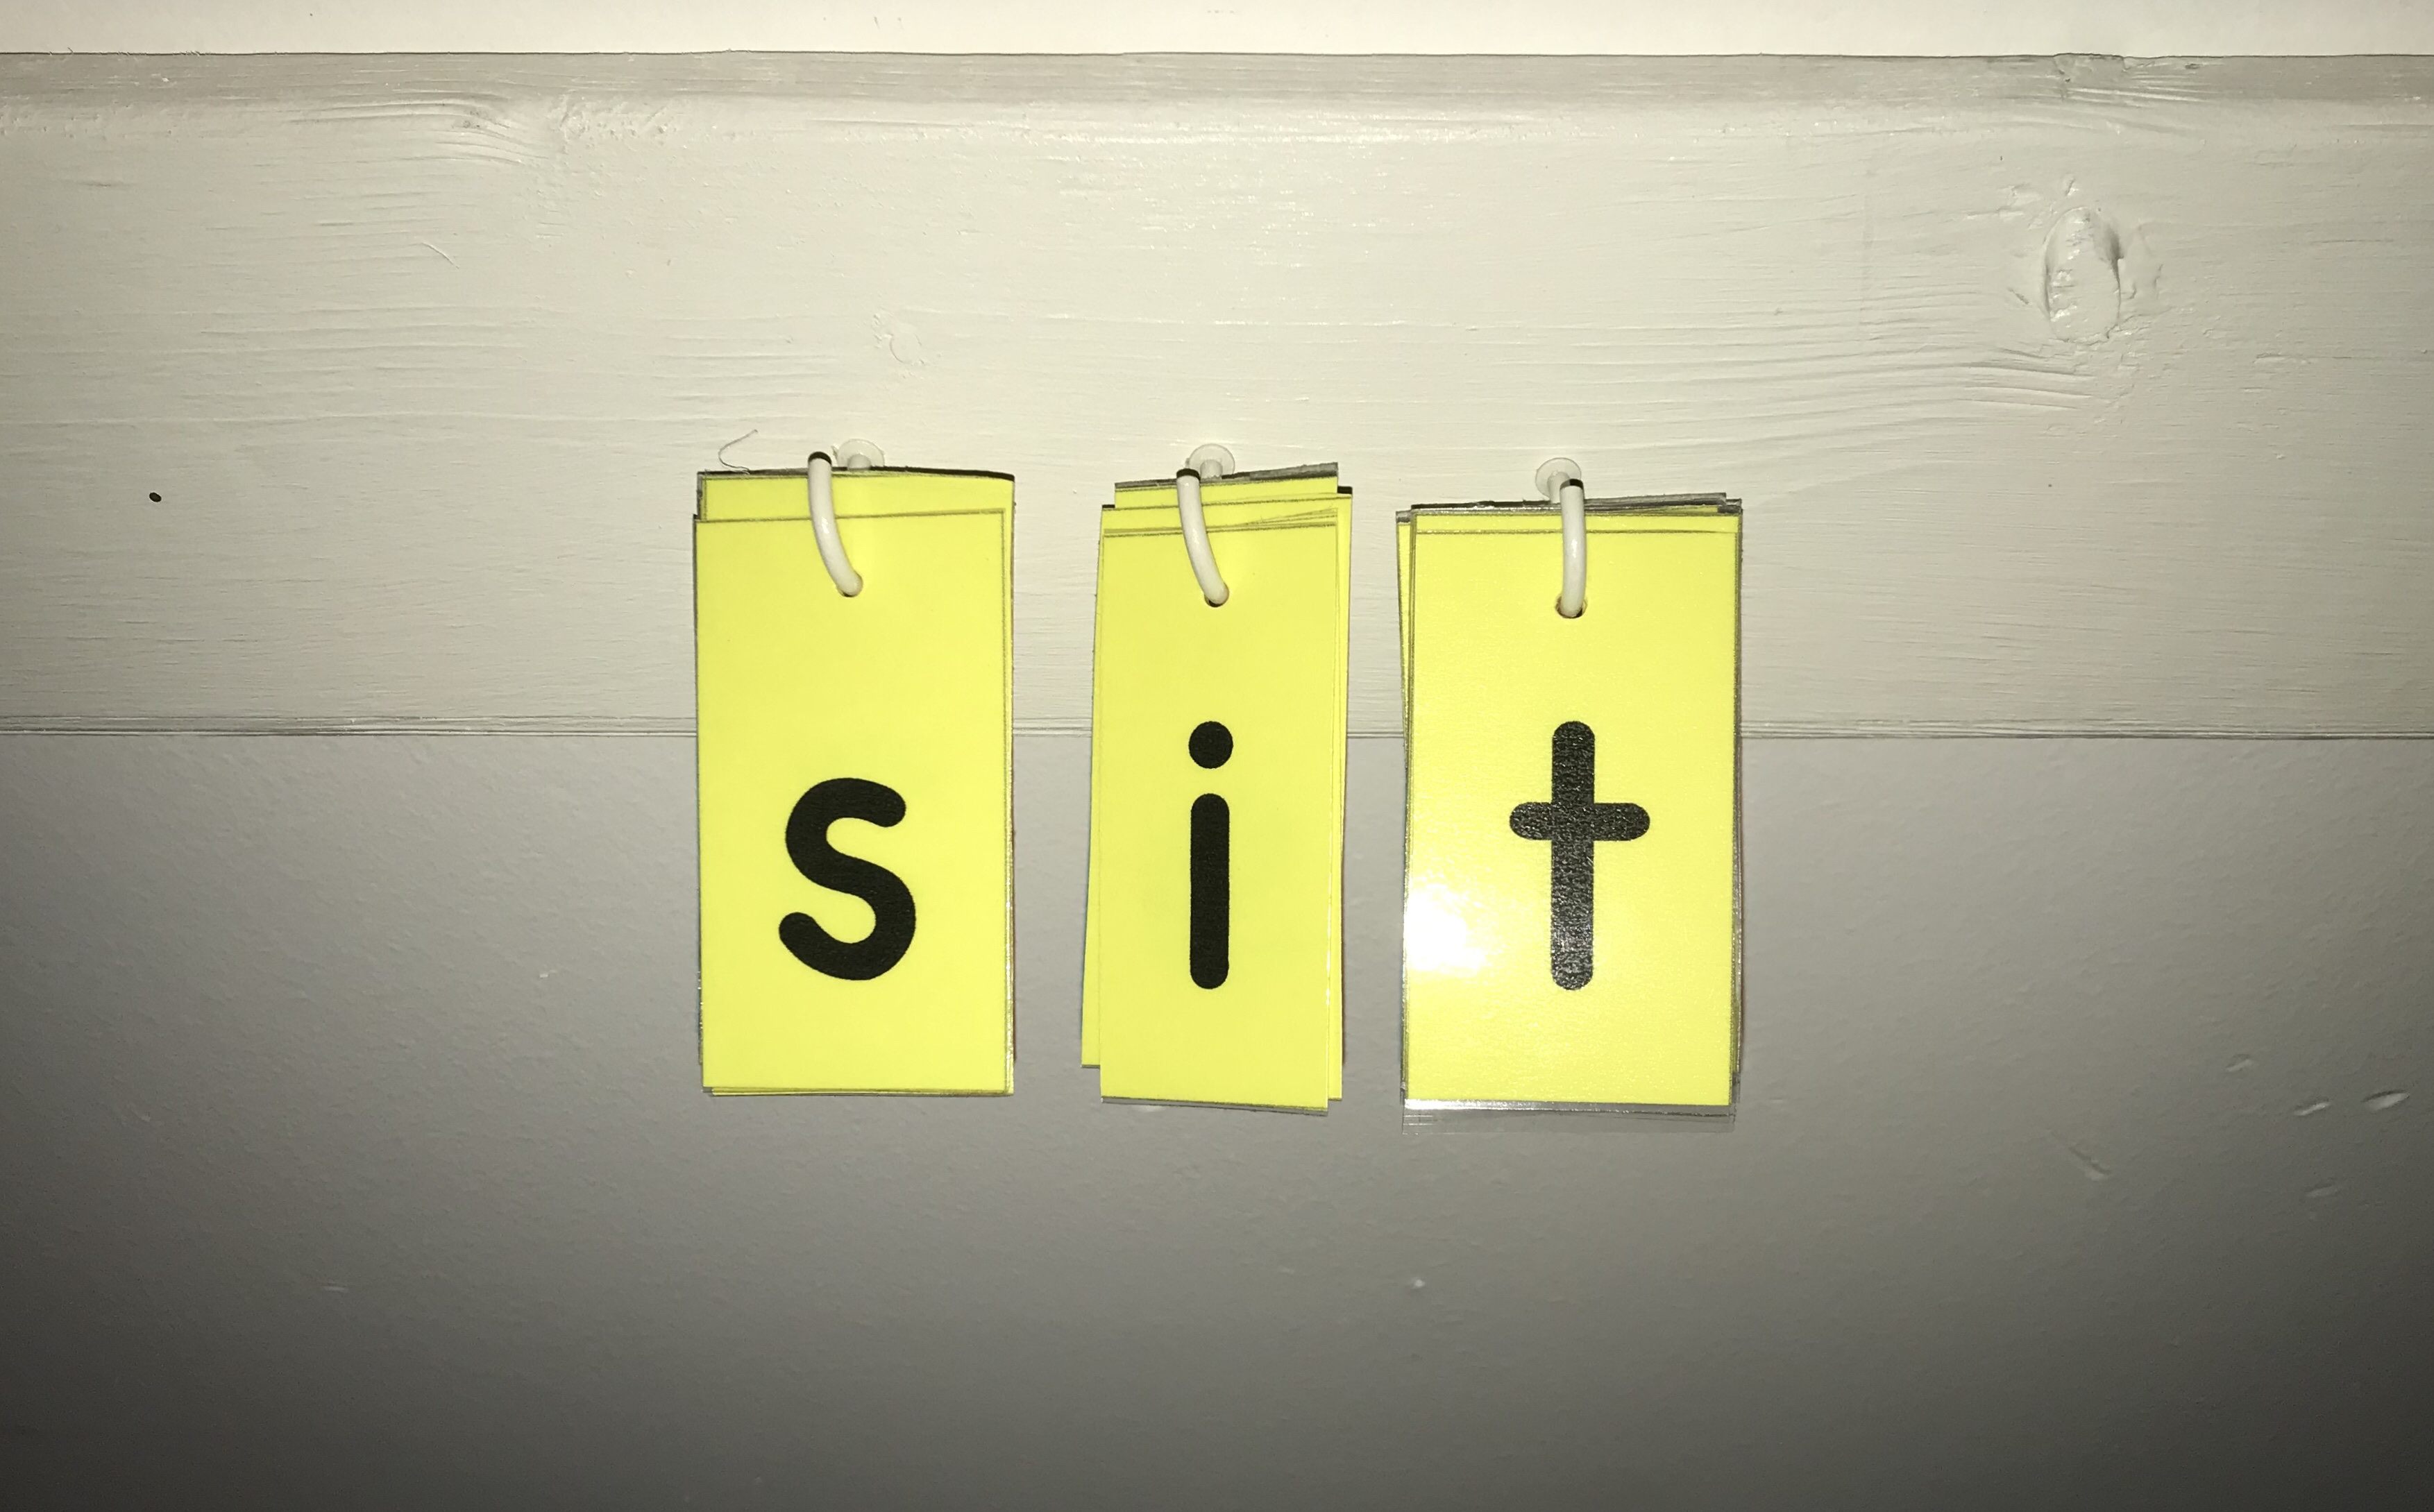
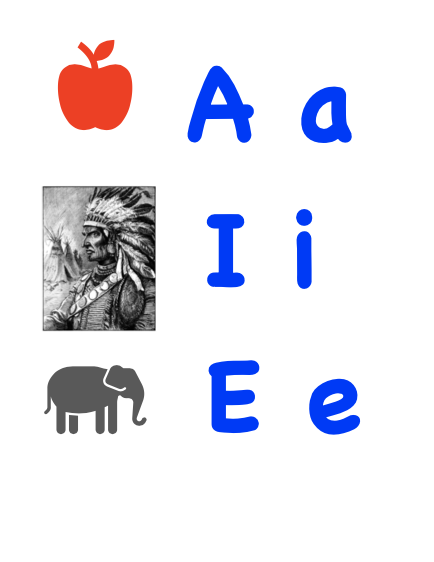
It’s another Friday and I am continuing on my mission to teach my son to read. In Part 1 last week I showed a simple vowel phonics chart I put up in my boy’s room. This allows me to review with him most night his vowel sounds. This week I am adding to his “bedroom classroom” a configurable word wall.

I decided to create some big letter tiles that I can use to make simple words for my son to sound out. I can also have him practice by making words himself.

I used pages on the iPad to make the tiles but MS Word would work as well. I created a table on a Normal letter-size paper that was in landscape orientation. I used a font that seems better for dyslexics reading. I think Comic Sans is recommended but that wasn’t a choice with Pages for the iPad. Chalkboard font on the iPad seems similar to comic sans so I chose that one. If I set the font size at 120 points to got the letters and spacing shown below.

I made enough columns and rows so each cell would fit one letter with large font size. I printed out the page of letters. Then I finally used my laminator for the first time! I cut out each individual letter and then put a hole in the top.

I decided to use yellow card stock after reading this report about the best background colors to use for dyslexics. I think other colors could be slightly better but yellow was the closest color I have to orange and light yellow.

Once I had enough letters I worked on getting the spacing right. To do this I made the vowel letters a little narrower by cutting off some of both sides. Then I used a simple CVC word to figure out the hook spacing. I used simple teacup holder hooks so I could hang the letters up and make words.

I put up some additional hooks to store the words but I arranged them with the same spacing. Now some of the older boys try and make funny phrases.

The boys have fun coming up with new words or even silly combinations of non-words. In the future, I hope to make blends and other consonant combinations. I also hope to experiment with different background colors. So now every night I can make new words for my son to practice reading.

What do you think of my configurable word wall? If you are interested in making your own here is a free copy of the Letter Tiles I used. Do you have any suggestions for teaching phonics? I would love to hear them in the comments.

Phonics Friday Part 1 – Bedroom Phonics Chart

I am on a mission to teach my son to read. My older kids eventually learned to read but for my son who struggles with learning difficulties ranging from Dyslexia to auditory processing issues reading is hard! I thought I would share my experiences hopefully every Friday. I also hope to post a free copy of the resource I create for teaching phonics.

While I was casually talking to my wife about teaching our kids to read I asked my wife what she remembered from her school years when she learned to read. To my surprise, she responded with the fact that she didn’t remember and that she just learned. That was an ah-ha moment for me. My wife has always been able to read well. In fact from her description, it sounded like she just picked up a book and started reading.

I on the other hand had to learn to read. It wasn’t always easy. But I remember how I learned to read. I was taught using a structured phonics approach. I attended a grade school where they used A Beka. One of the vivid memories I have from learning to read I still remember it while I am reading to myself or sounding out words subconsciously. What I remember most from my school years learning to read were phonics drills. I don’t remember how often we would work on those drills but I can hear them in my mind. I looked up the charts and they are about the same. You can see a sample one here. I remember it was on a big flip chart at the front of the room. When I think back to learning to read I am convinced that drills helped me learn to read. I decided to go to that method to help reinforce phonics for my son.

So here is a picture from my son’s room of what I am doing.

Wall poster in my son’s bedroom for drilling vowel sounds.

I quickly made this phonics chart last night. I ended up using MS Word but you could do it on the iPad also. In fact, I probably would have used Keynote if I was doing it again. The picture of the Indian I got from a great site for free images here. I let my son pick out the picture so it was something that interested him. I chose vowels since my son keeps mixing up simple words with i and a as a short vowel sound. My goal is to work with him every night before bed. I make him say with me “a-a” in apple “i-i” in Indian. So far it works pretty well. The only change I think I will make to the poster is to put the letter first and then the picture. Also here is another great resource for free phonics charts.

What do you think of my phonics chart? What have you done to help your child learn to read with phonics? What do you remember from when you first started to learn to read? Was it easy for you or hard?

If you would like more information on teaching phonics and teaching boys to read I suggest you check out my post on free reading resources. Also here is a free copy of my phonics vowel poster. If you would like to see more of what I am doing to teach my son to read with phonics check out Part 2.

NatureGlo’s eScience MathArt & Science Course review

Disclaimer: I received a FREE copy of this product through the HOMESCHOOL REVIEW CREW in exchange for my honest review. I was not required to write a positive review nor was I compensated in any other way.

If you favor a relaxed homeschool science approach, you’ll want to check out NatureGlo’s eScience MathArt & Science Course Bundle from NatureGlo’s eScience. 

NatureGlo’s eScience is an online E-Science curriculum that has many different unit studies. The videos can be watched on a computer or an iPad. Along with the video there are also online resources to go along with the lesson. For example the lesson my son watched on Leonardo de Vinci had a link to some of his online notebooks that my son could look at and there were also questions to go along with.

The videos are nicely done. The classes we watched were previously recorded live classes. The class video is a presentation and sometimes other videos. The teacher had some interaction with the students so it wasn’t just her. Sometimes she would have the students answer questions which was nice to hear some interactions and not just a lecture. There 31 MathArt and natural courses. Some of the courses are only a few lessons while others are more in-depth and as long as six weeks.

Since the videos and courses can be used on the iPad it is easy to watch the science lessons anywhere.

The only thing I didn’t like about the website was the login was all the way at the bottom of the page. Sometimes it was difficult to get back to the lessons but it might have just missed something.

Overall we enjoyed the courses and watching the lesson videos.  It felt like you were sitting in a laid back class.  My son really enjoyed all the classes about reptiles and bugs. The interactive content that went along with the lessons was also helpful and fun.

Click on the banner link below to see what other homeschooling families thought about NatureGlo’s eScience.

NatureGlo's eScience MathArt & Science Course Bundle { NatureGlo's eScience Reviews}

Institute for Excellence in Writing® Level C review

Disclaimer: I received a FREE copy of this product through the HOMESCHOOL REVIEW CREW in exchange for my honest review. I was not required to write a positive review nor was I compensated in any other way.

My daughter who loves to write was thrilled with the opportunity to help me review Structure and Style® for Students Year 1 Level C from Institute for Excellence in Writing® (IEW).  Since my Highschool daughter was familiar with IEW I thought she would be perfect to help me review the online version.  Keep reading below to see what we thought of the Structure and Style® for Students Year 1 Level C from IEW®.

From a students perspective (my daughter)

“When I was first introduced to IEW® a few years ago, I thought the program was well done. Now, looking back on all the things that I learned and continue to learn, I think that the program is positively amazing! The skills and methods taught are practical to every aspect of writing and even other academic areas such as reading, thinking, and speaking. I found myself looking forward to each video in the Structure and Style level C. I appreciated how the videos were Insightful and structured, while still being entertaining, especially with Mr. Pudewa. Overall, I believe that users will find the Structure and Style® for Students Year 1 Level C program to be a powerful tool in their writing journey.”

Improvements of the latest version

  • Helpful slides that pop up clarifying page numbers, assignments, and instructions
  • Much better-detailed video and close-ups actually showing students which keep things interesting.

Highlights for Structure and Style® for Students Year 1 Level C

  • Fun material
  • Good source texts to write from
  • Extremely practical tools and tricks/tips for better writing.
  • The teacher, Andrew Pedwua, is funny yet informative and insightful
  • It’s helpful that the teacher reads a paper each week from students.  Better understanding and teachability to learn and see how others did it.
  • Easy to access online streaming.  It is always available to fit your schedule.
  • Very organized binder with all the handouts already printed out. Everything is laid out so you are ready to start the lesson right away.

 From a fathers perspective

As a busy father, I appreciate the minimal prep time required to use Structure and Style® for Students Year 1 Level C.  The lessons are all online videos and basically, all that I need to do is make sure my student watches the lesson and then check their work. Mr. Pedewa is a great teacher.  I even find myself watching some of the lessons.  It’s great that he starts out with a joke all the time! It is also nice that he reads some of the student’s assignments during the class so I know what to expect.

The teacher’s manual is color-coded with helpful gray boxes that provide extra information.  There are also yellow pages/sections covering student handouts and paper management. There are a few handouts that are not mentioned in the video but are mentioned in the Teachers manual.  You can see one of the gray boxes below from the teacher’s manual.

The videos are now online! No more DVDs to lose or get scratched.  The videos show up in your IEW® account. You choose which video you are ready to watch and you can watch them over and over again because they never expire. The videos also work on the iPad if you have internet access! Most lessons are divided into two parts so it is nice that there is a marker in the video where the second part begins. You can see what the screen layout looks like in the picture below from my IEW account page.

If you need a high school composition class I would seriously consider IEW® Structure and Style® for Students Year 1 Level C. You can even download and watch the first three lessons for free.  Click on the banner below to see what other families thought about IEW.

Structure and Style® for Students Year 1 Level A, B & C {Institute for Excellence in Writing® Reviews}

Simply Coding Review

Disclaimer: I received a FREE copy of this product through the HOMESCHOOL REVIEW CREW in exchange for my honest review. I was not required to write a positive review nor was I compensated in any other way.

As a father who knows enough programming to be dangerous I was thrilled to have the opportunity to review Coding for Kids Annual Membership from Simply Coding.  I have always wanted to teach my kids some computer programming skills; however, I never seem to get around to teaching anything formally.  I was excited to have my 12-year-old son try Simply Coding.  He loves technical things but he has not done much on actual computers.  He knows his way around tablets pretty well but Simply Coding gave him a great introduction to computers.

Starting out

To start I sat down with him and we looked at some of the classes offered form Simply coding.  After I showed him some of the lessons he decided he wanted to try the JavaScript Game design class.  I was a little worried it would be too advanced for him but it is turning out to be just about right for him.  He now wants to work on it ALL THE TIME! The JavaScript game design starts off easy with an introduction to keyboard shortcuts like copy and paste.  Since there is a lot of copy and pasting with coding.

All the required tools and code are provided as links in the lesson.  There are links to the programming editor and links to the code that will be edited for the lessons. There are also instructions (along with videos) on how to install the tools. Since my son was learning JavaScript all you need to run the game is a web browser.

Each lesson has a video that is basically the same as in the lesson text.  The instructor is in a window on the top right while the rest of the screen shows his computer screen and what you need to do for the lesson. My son mostly watched the videos but if your child would rather just read the lesson they can do that as well.

I started out sitting down with my son for the first few lessons and helping him where needed.  The lessons are pretty easy for an adult who is a little familiar with computers to understand.  You do not need to have programming experience just a knowledge of how to download and install programs and other basic computer skills.

Lesson structure

There is a lesson menu on the left side of the screen where you can select the lesson you are ready for.  You can go through previous lessons also. You need to finish the quiz before advancing to the next lesson.

Once you are in the lesson there is a link for the instructional video to watch.  There are gray arrows to go to the next lesson.  Each lesson usually has some instructions and then an activity to go along with the lesson which usually involves modifying computer code.  At the end of the lesson, there is a quiz.

My son was so excited to show me and his family what he did. The picture below is his game that he made.

Once your student is comfortable with coding skills they can try downloading and modifying other programs in the Demo area. There you can watch other game demos and get the code so your kid can make or edit games others made.

There is also a competition your student can participate in.  Even though we missed the summer competition all the information is there so your student can try to code his own game using the resources.  The competition below had some instructions on how to make your own game sprite.

Other classes

Computer coding is not the only classes available with your subscription. Some of the other classes offered are Photography, videography, adobe, gimp, Computer intro, Microsoft products such as Excel and Word, Intro to electronics, kids keyboarding, and many other courses.  The picture below shows some of the basic computer courses.  If you feel that the javascript simply coding class is too difficult I would recommend first starting with some of the Simply Tech4Kids classes like Scratch.

I highly recommend you check out Simply Coding!  Even if you can teach programming to your child yourself, Simply Coding makes it easy for you.  All the resources are included along with easy to follow directions and videos on how to use them.  Once you get your child started he can work on it on his own.

Other families used this product too so be sure to check out their reviews by clicking on the banner below.

Coding for Kids Annual Membership {Simply Coding Reviews}