Category: tablet
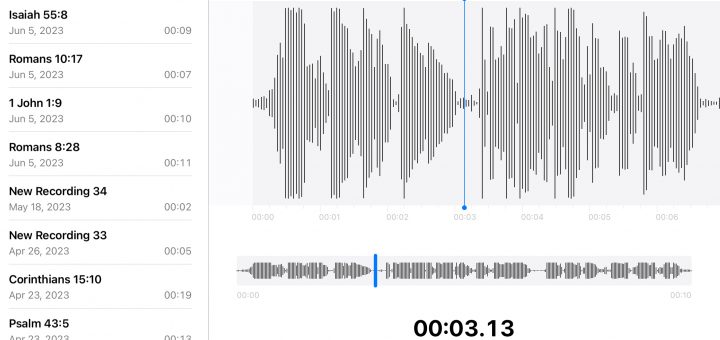
3 Ways To Help Kids Memorize Anything
It takes a lot of work to help kids who can’t read well memorize. In this article I am going to show you how I only spend a few minutes to help my kids memorize anything. Memorization takes lots of repetition and reading. The best tool I have found to help kids memorize is my phone or iPad. I use the simple app called voice memos on my phone or...
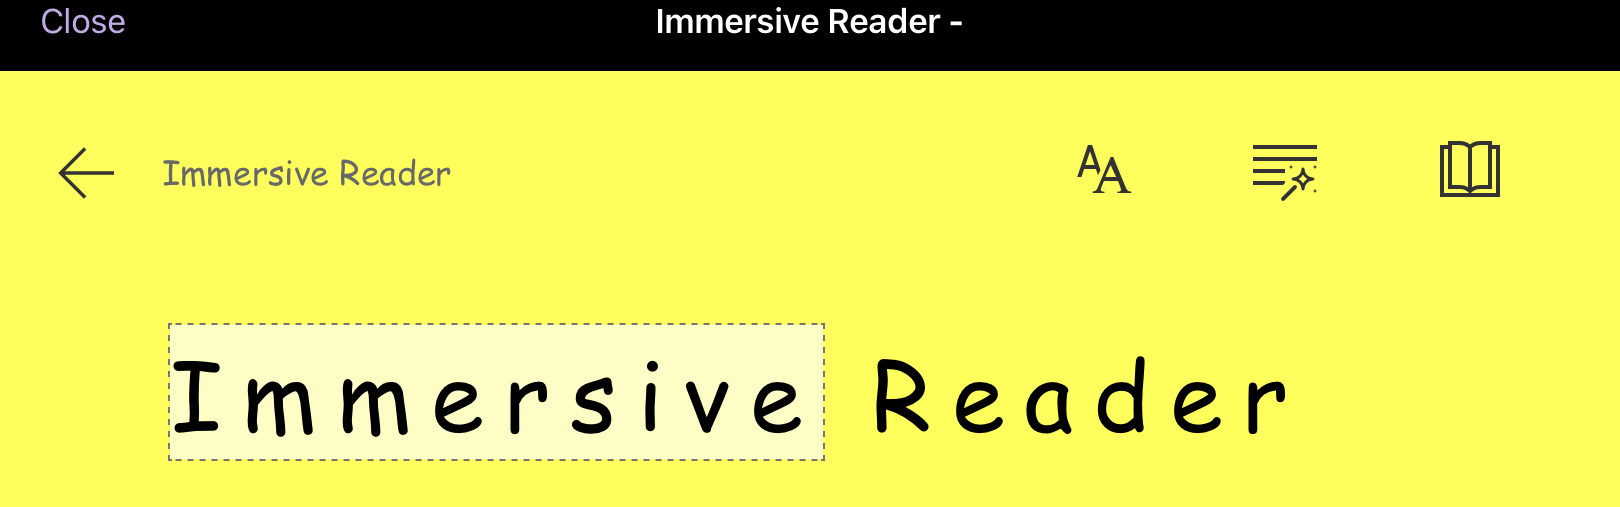
How to use Microsoft Immersive Reader on the iPad
Microsoft’s Immersive Reader is a helpful tool for struggling readers, including those with dyslexia. Thankfully the Immersive reader can be used on an iPad.
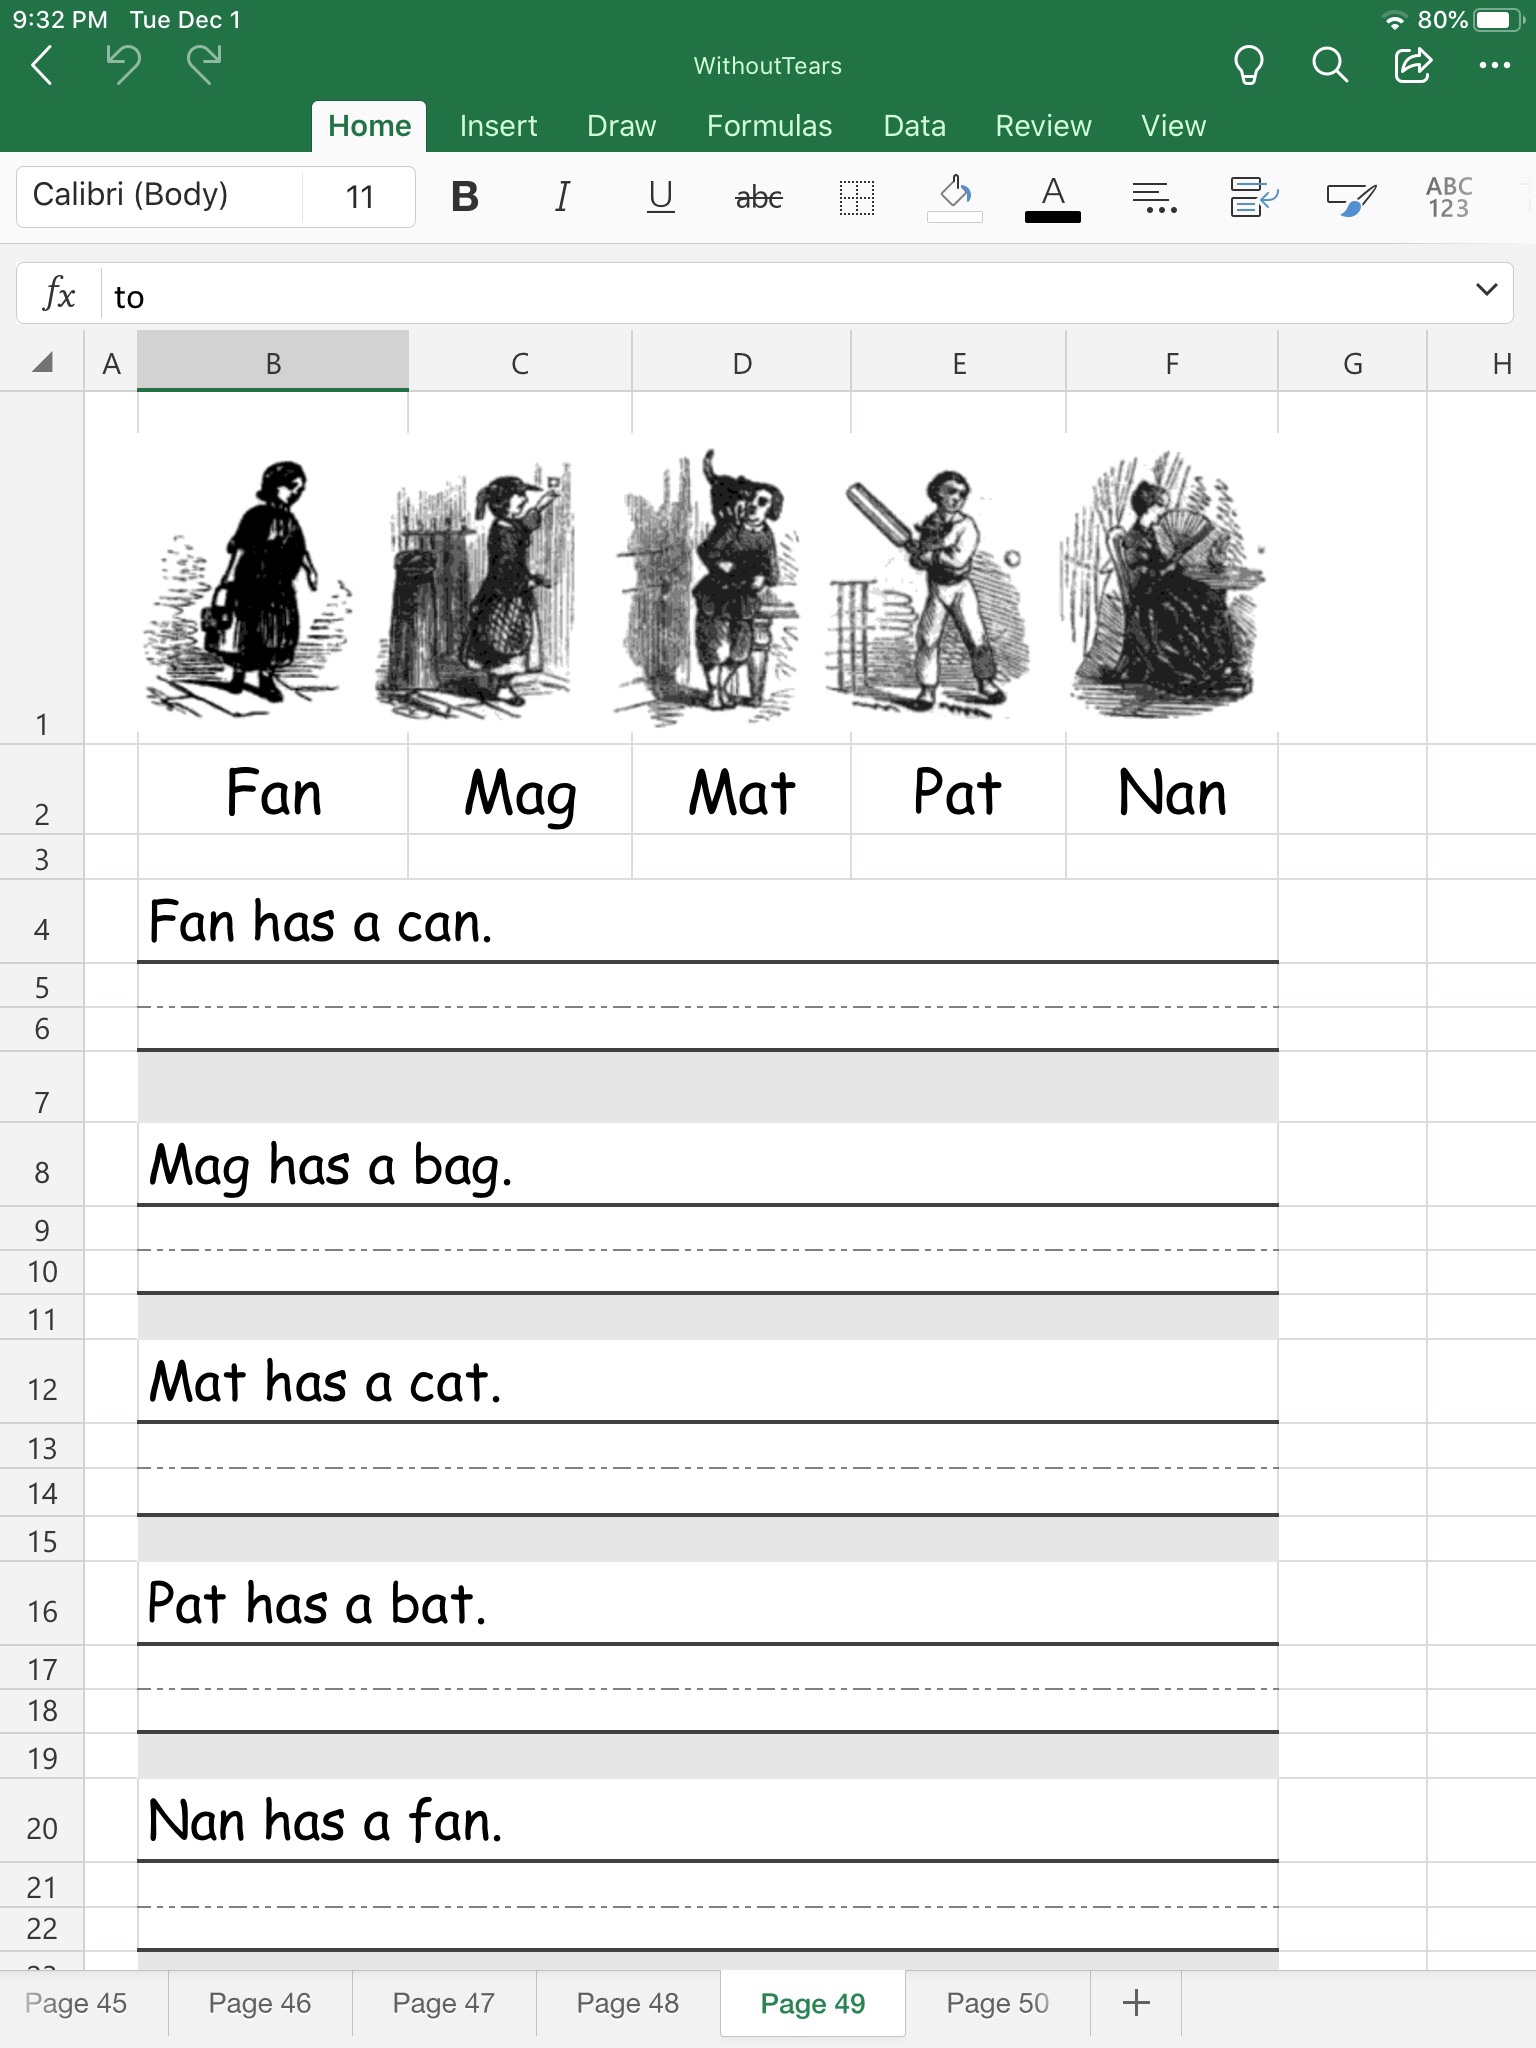
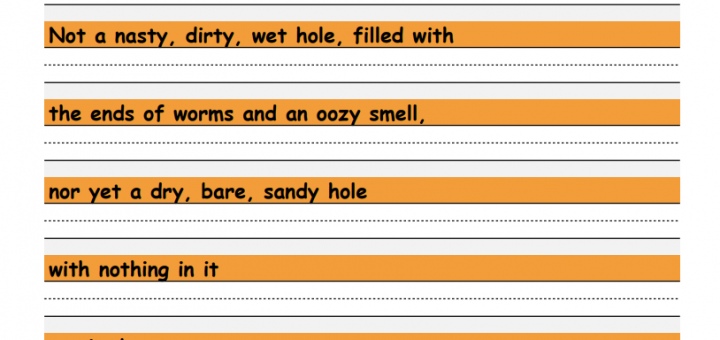
Phonics Friday Part 3 – How to quickly make a copy worksheet on the iPad
Here is a quick easy way to create a copy worksheet with the iPad. For Part 3 of my Friday Phonics series, I thought I would show you how to make a simple copywork worksheet for homeschooling using the iPad. As always with my Phonics Friday series, I will provide a free copy of the resource shown below. If you need to quickly create a custom copywork worksheet, the easiest way I...
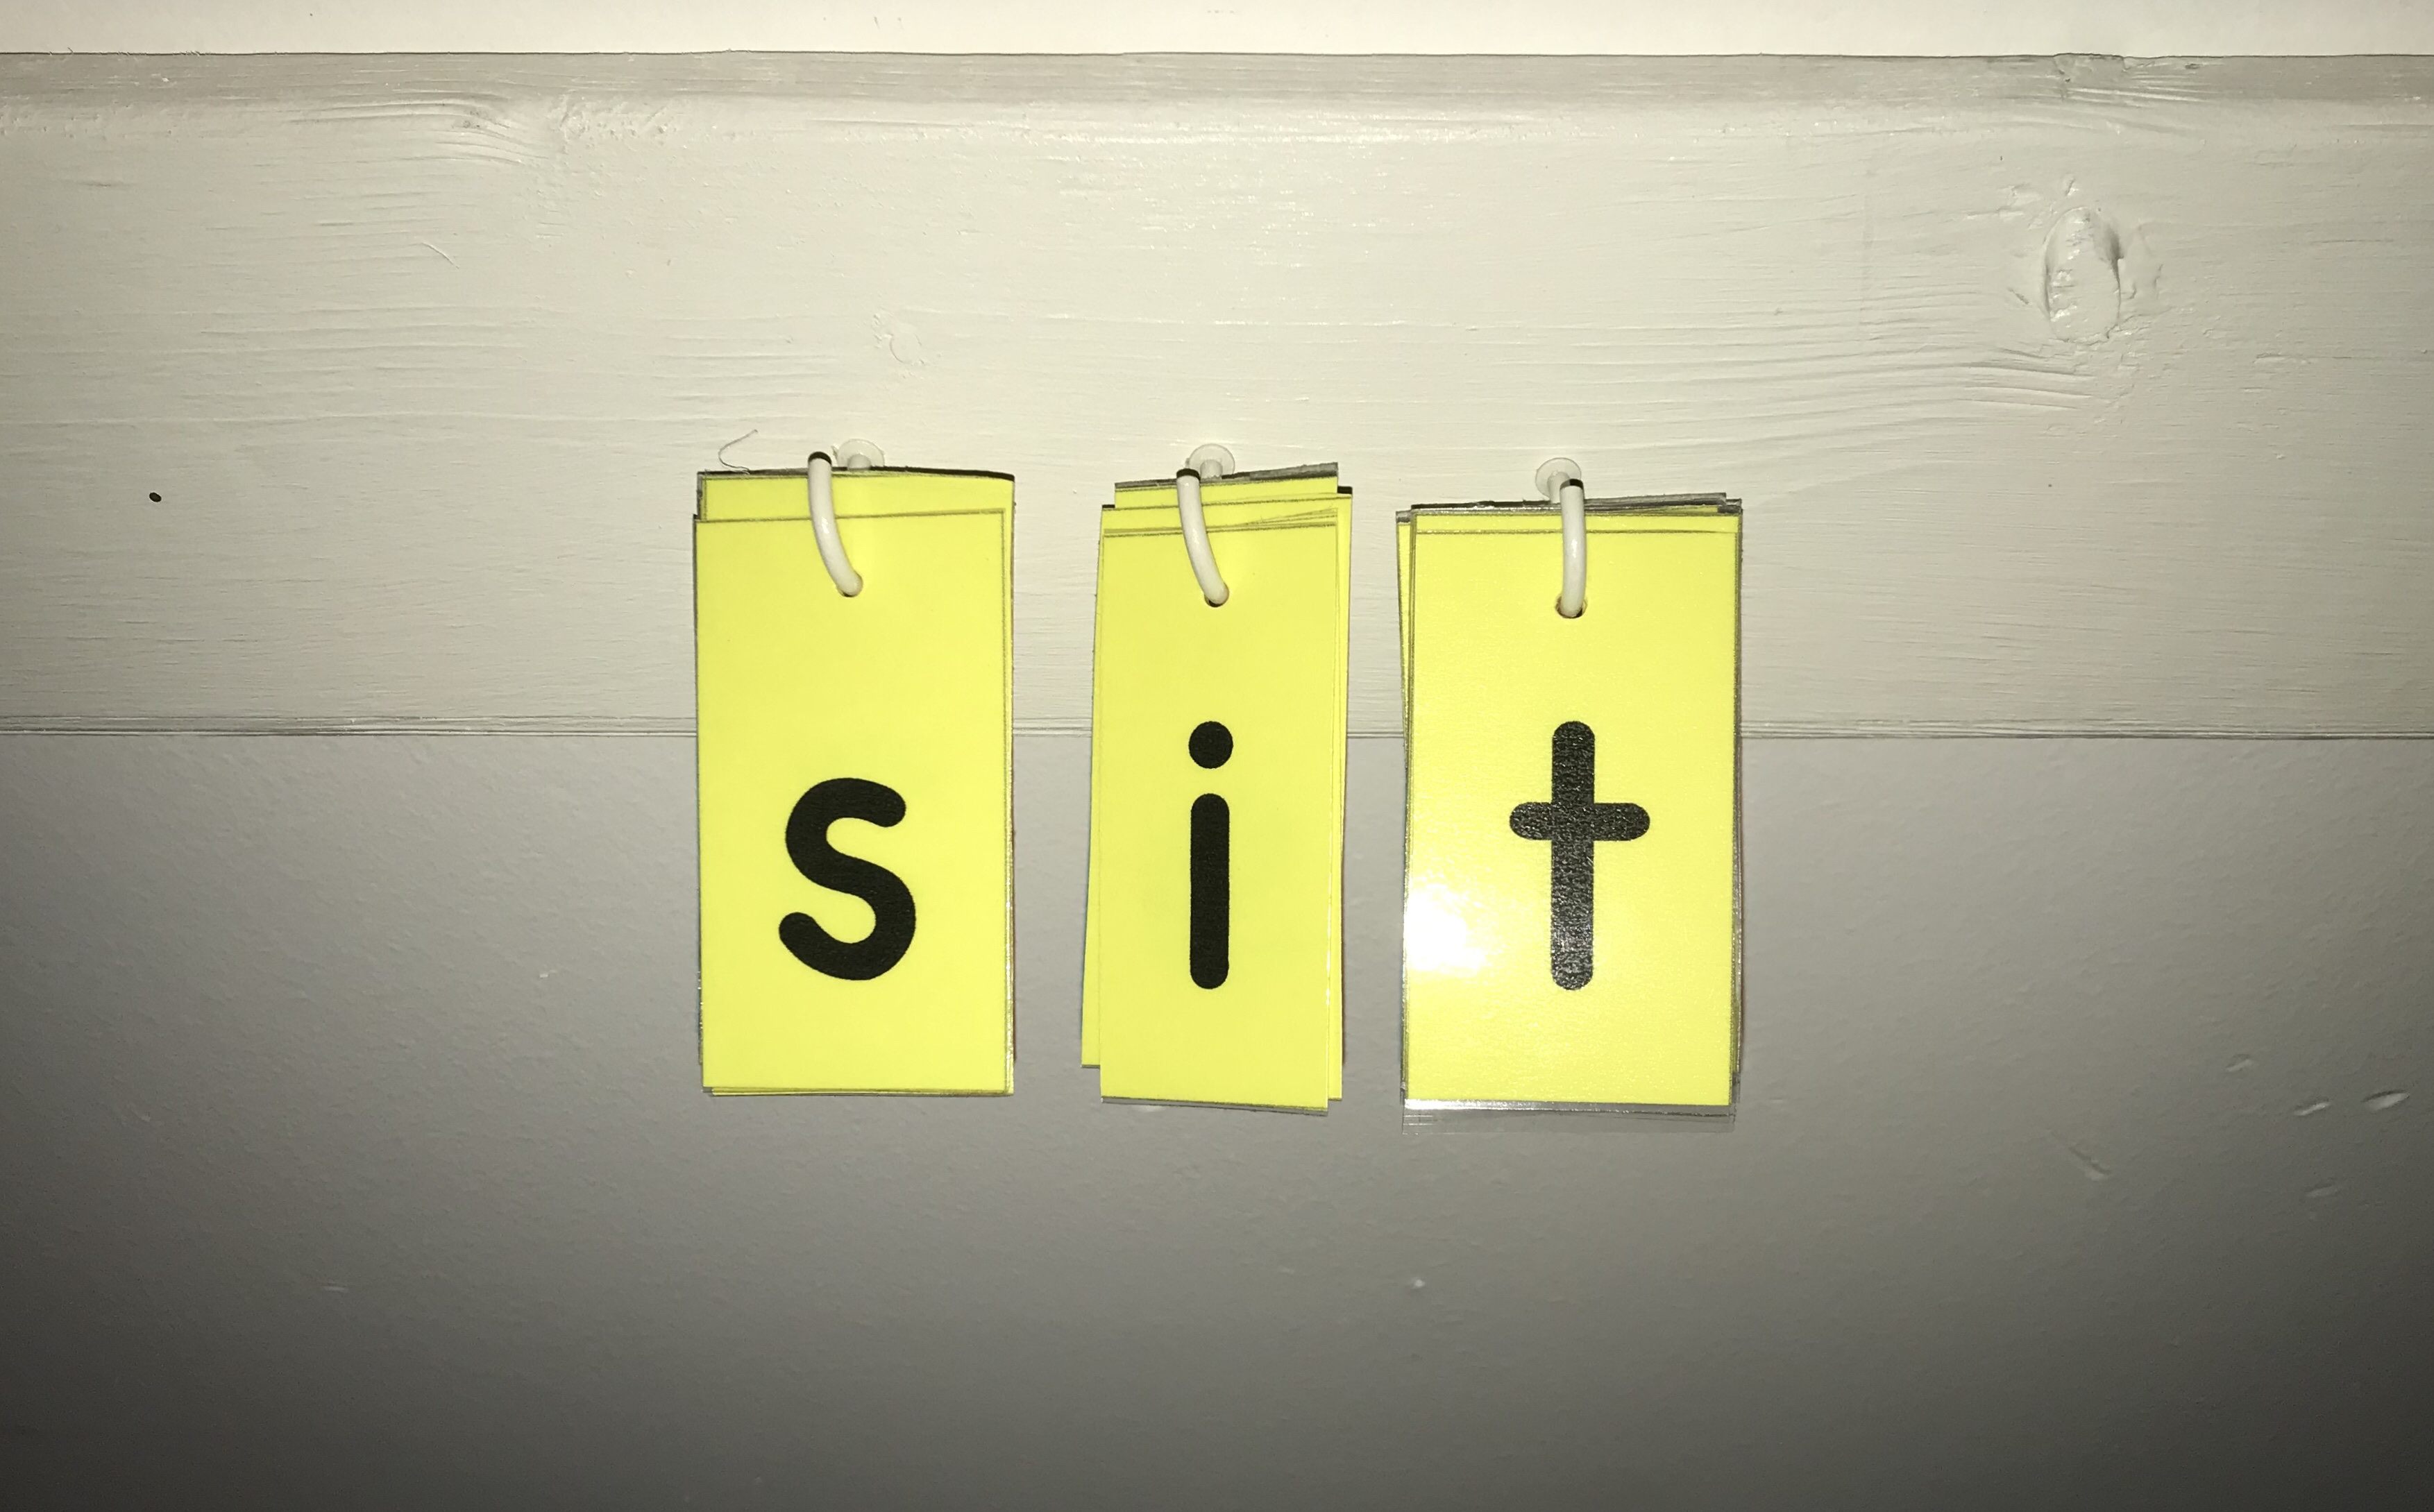
Phonics Friday Part 2 – Configurable word wall
It’s another Friday and I am continuing on my mission to teach my son to read. In Part 1 last week I showed a simple vowel phonics chart I put up in my boy’s room. This allows me to review with him most night his vowel sounds. This week I am adding to his “bedroom classroom” a configurable word wall. I decided to create some big letter tiles that I...

Which 2020 iPad is right for you
What iPad should you buy for homeschooling? I recommend which iPad I would look at in 2020.

Homeschool Easy complete curriculum Review
Disclaimer: I received a FREE copy of this product through the HOMESCHOOL REVIEW CREW in exchange for my honest review. I was not required to write a positive review nor was I compensated in any other way. If you are new to homeschooling or need a complete package, you’ll want to check out the 2nd Grade Entire School Year Curriculum from Homeschool Easy. What is the Homeschool Easy curriculum like? Homeschool Easy offers...
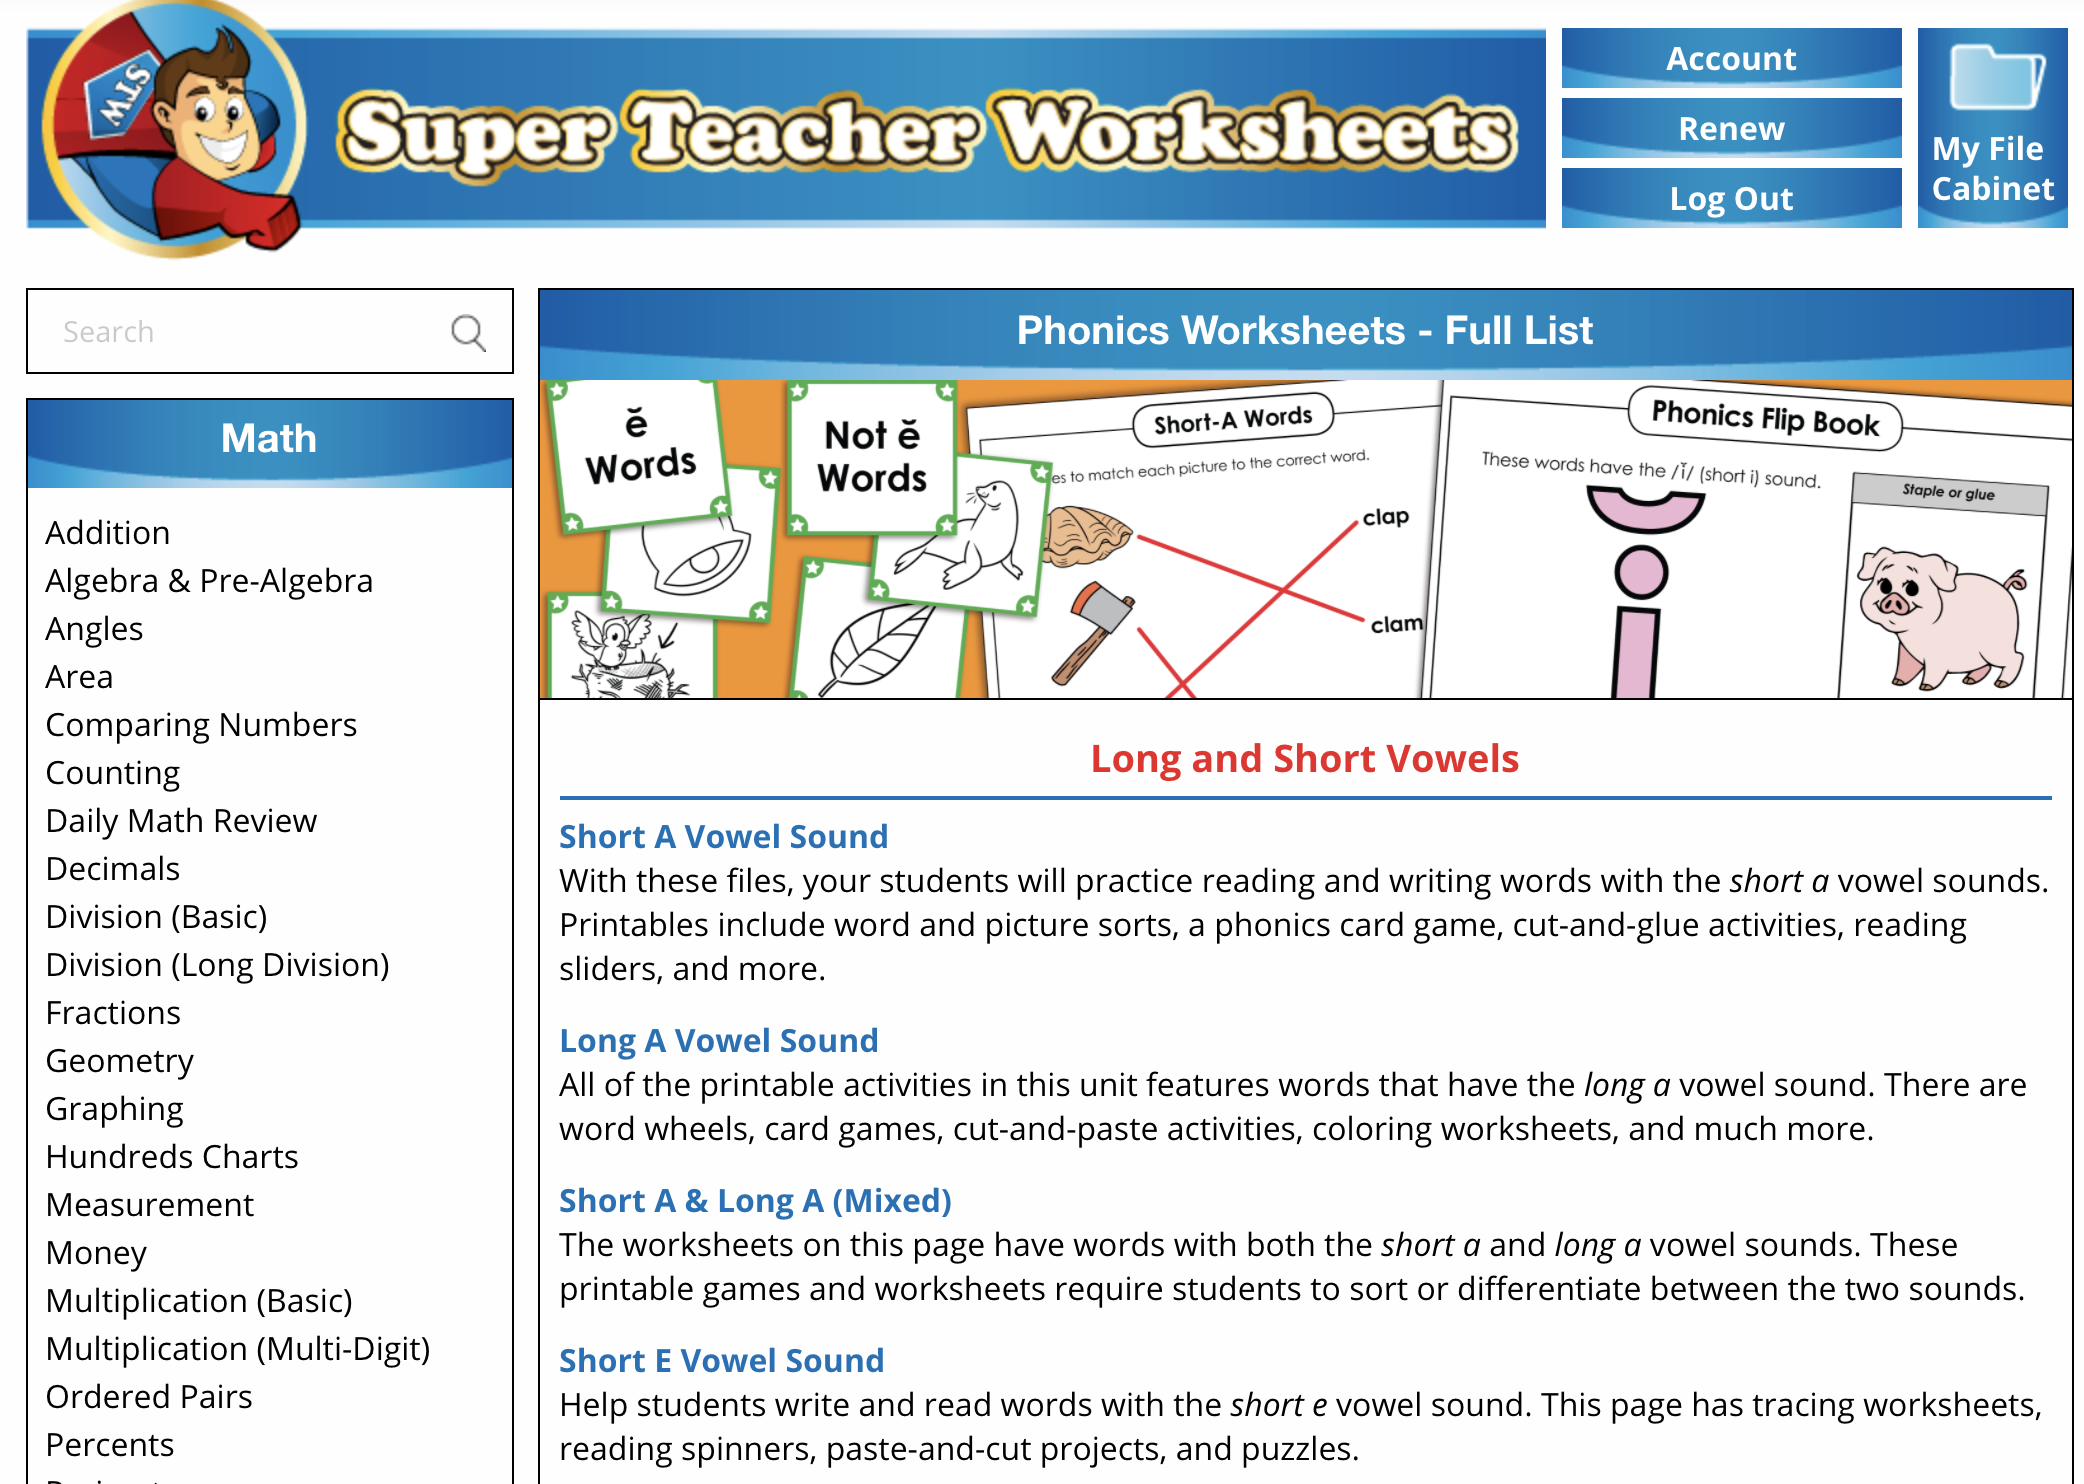
Super Teacher Worksheets Review
Disclaimer: I received a FREE copy of this product through the HOMESCHOOL REVIEW CREW in exchange for my honest review. I was not required to write a positive review nor was I compensated in any other way. We’ve been adding printed worksheets from Super Teacher Worksheets Full 1-year membership with Unlimited downloads/access to supplement our reading programs in our homeschool. Check out my review below. What is Super Teacher Worksheets Do you spend...