Author: Josh
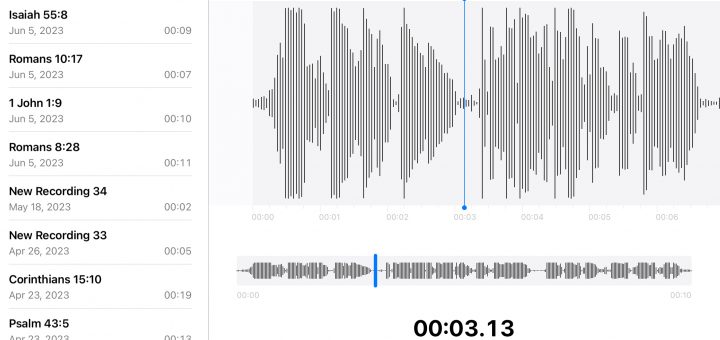
3 Ways To Help Kids Memorize Anything
It takes a lot of work to help kids who can’t read well memorize. In this article I am going to show you how I only spend a few minutes to help my kids memorize anything. Memorization takes lots of repetition and reading. The best tool I have found to help kids memorize is my phone or iPad. I use the simple app called voice memos on my phone or...
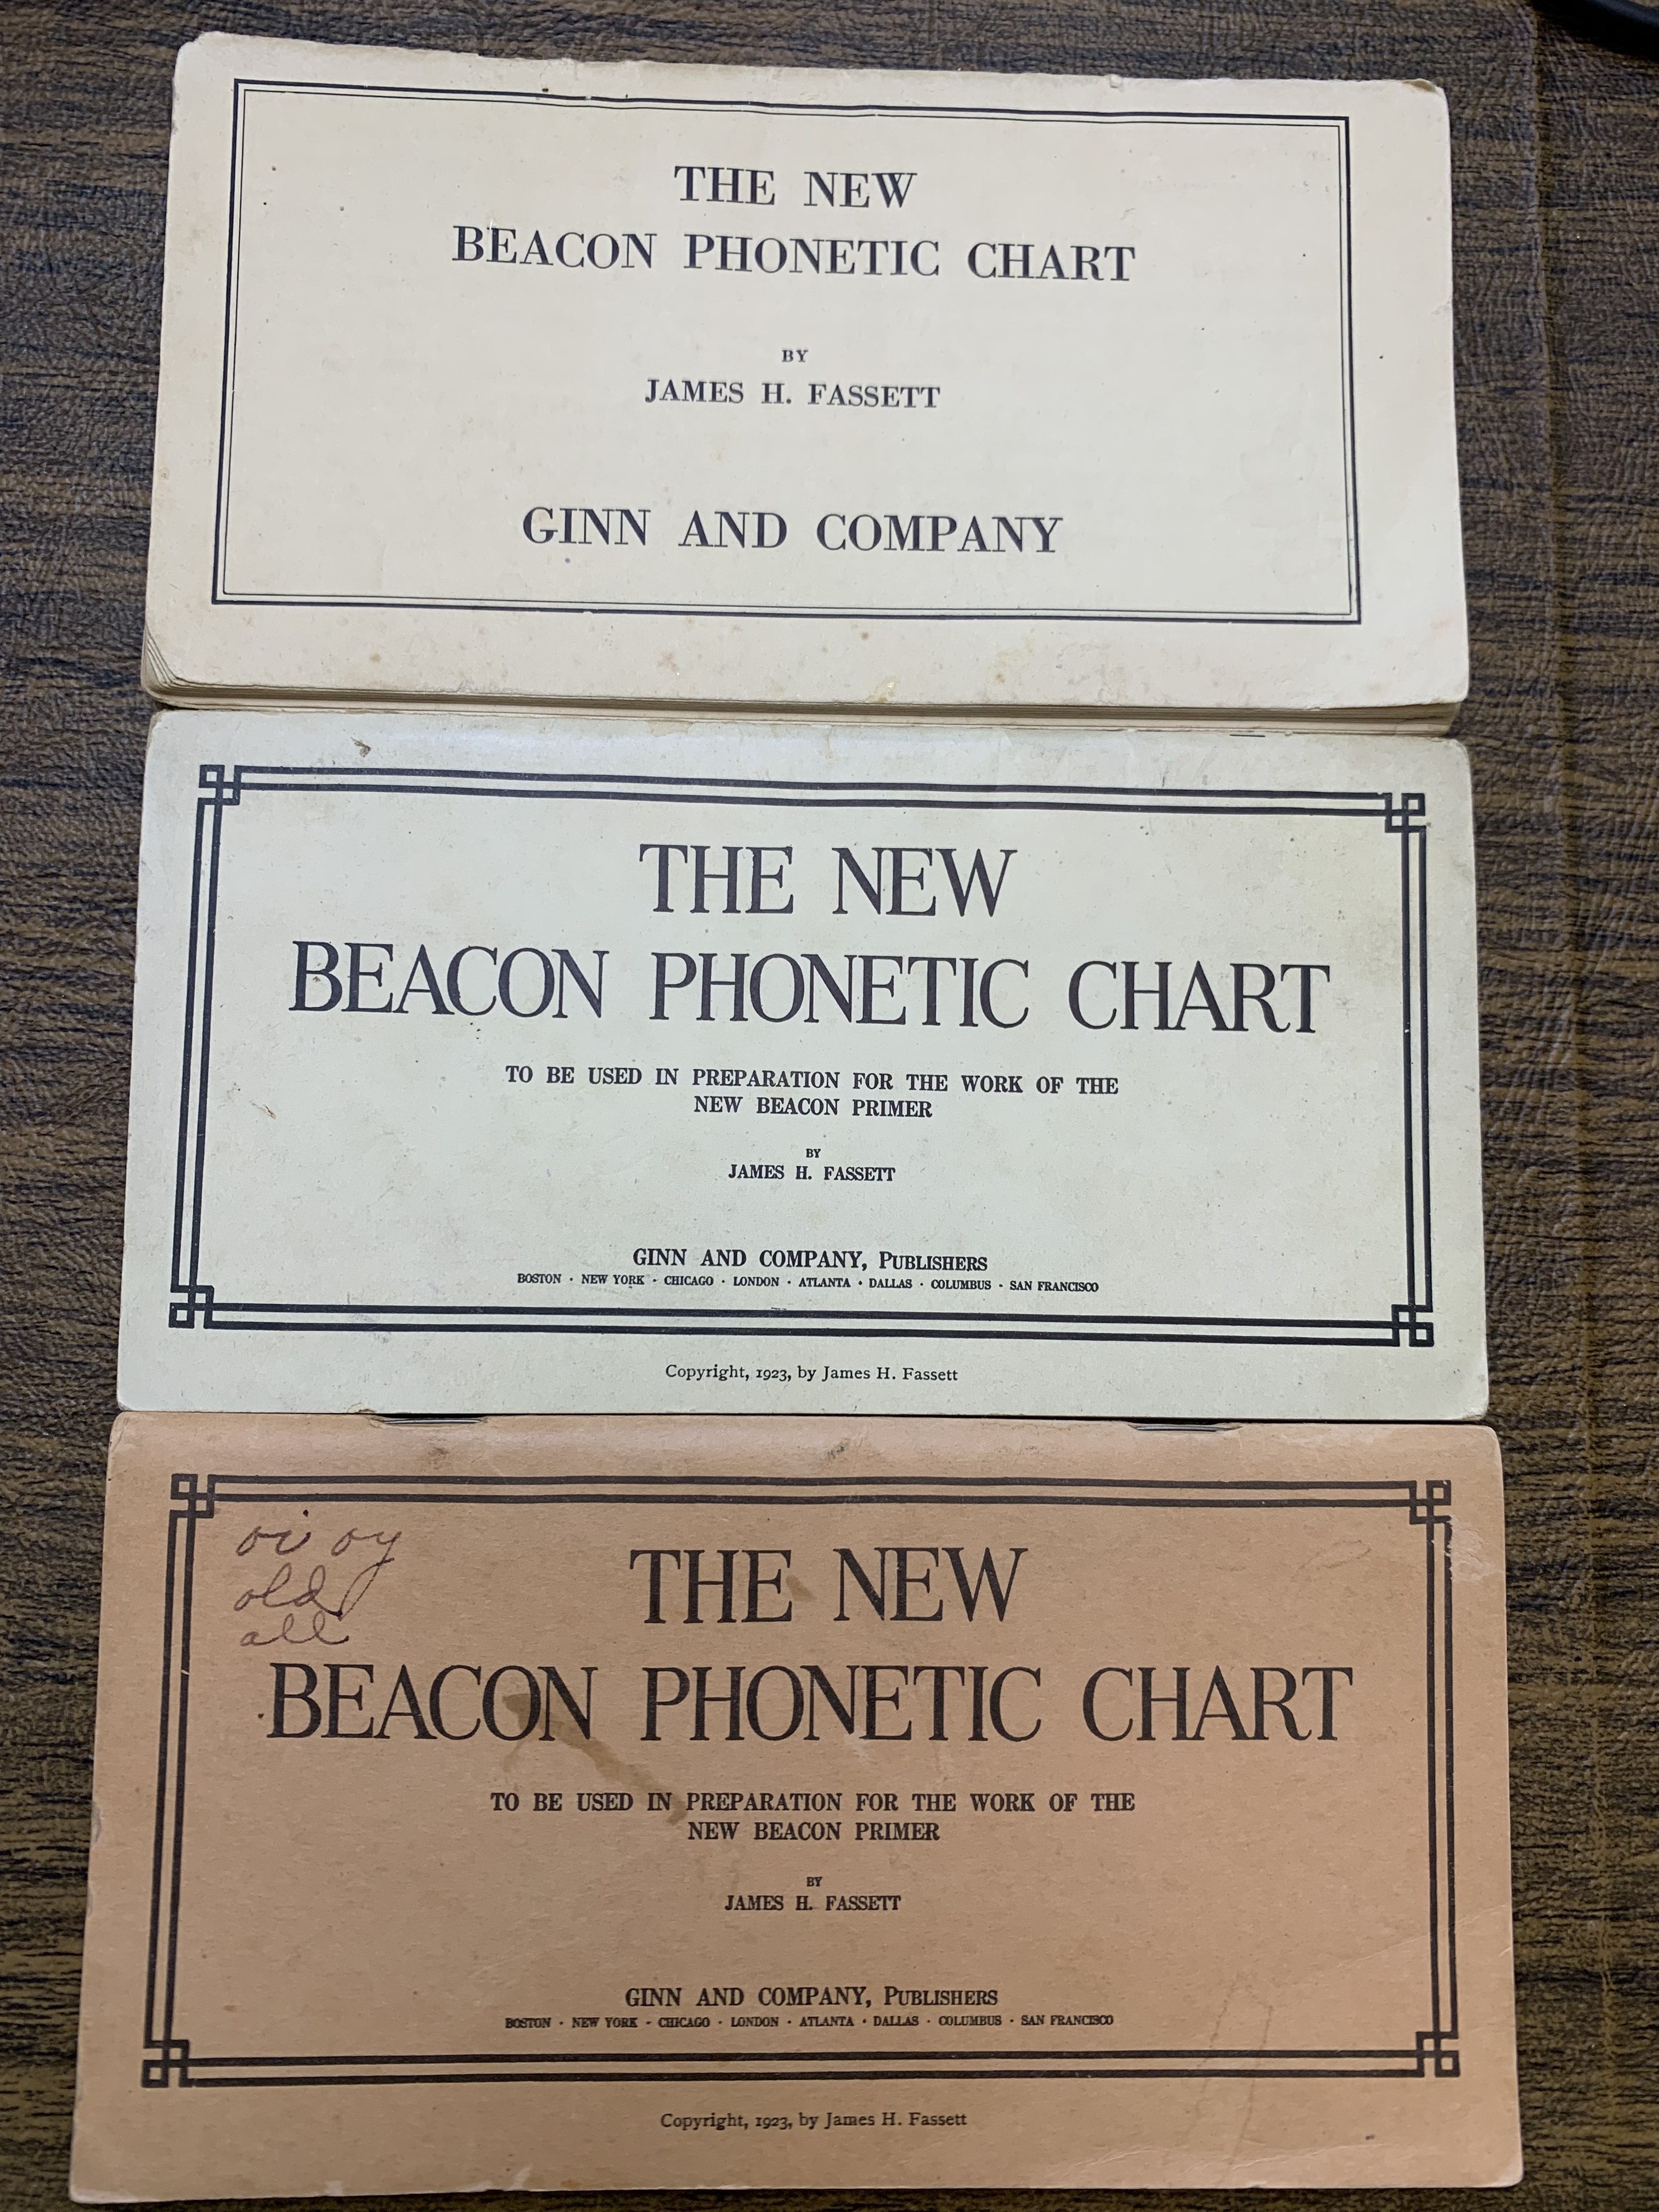
Old School Phonics – Beacon Phonetic Chart
So excited to finialy get my hands on the New Beacon Phonetic Chart! I say “new” but it is actualy quite old. The New Beacon Phonetic Chart was published in 1932. I wonder what the Old Phonetic chart looked like. I hope to digitize this in the future and use it with my boys who are just starting to learn to read. I actually ended up with three copies of...
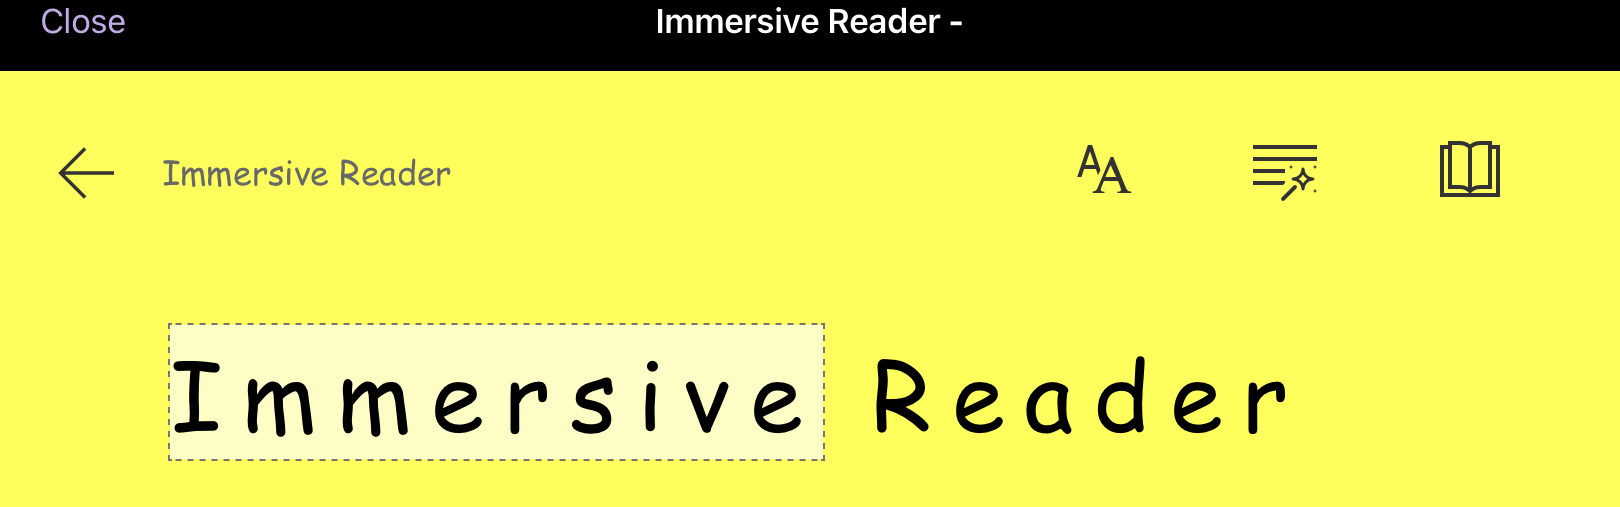
How to use Microsoft Immersive Reader on the iPad
Microsoft’s Immersive Reader is a helpful tool for struggling readers, including those with dyslexia. Thankfully the Immersive reader can be used on an iPad.
Phonics Friday Part 3 – How to quickly make a copy worksheet on the iPad
Here is a quick easy way to create a copy worksheet with the iPad. For Part 3 of my Friday Phonics series, I thought I would show you how to make a simple copywork worksheet for homeschooling using the iPad. As always with my Phonics Friday series, I will provide a free copy of the resource shown below. If you need to quickly create a custom copywork worksheet, the easiest way I...
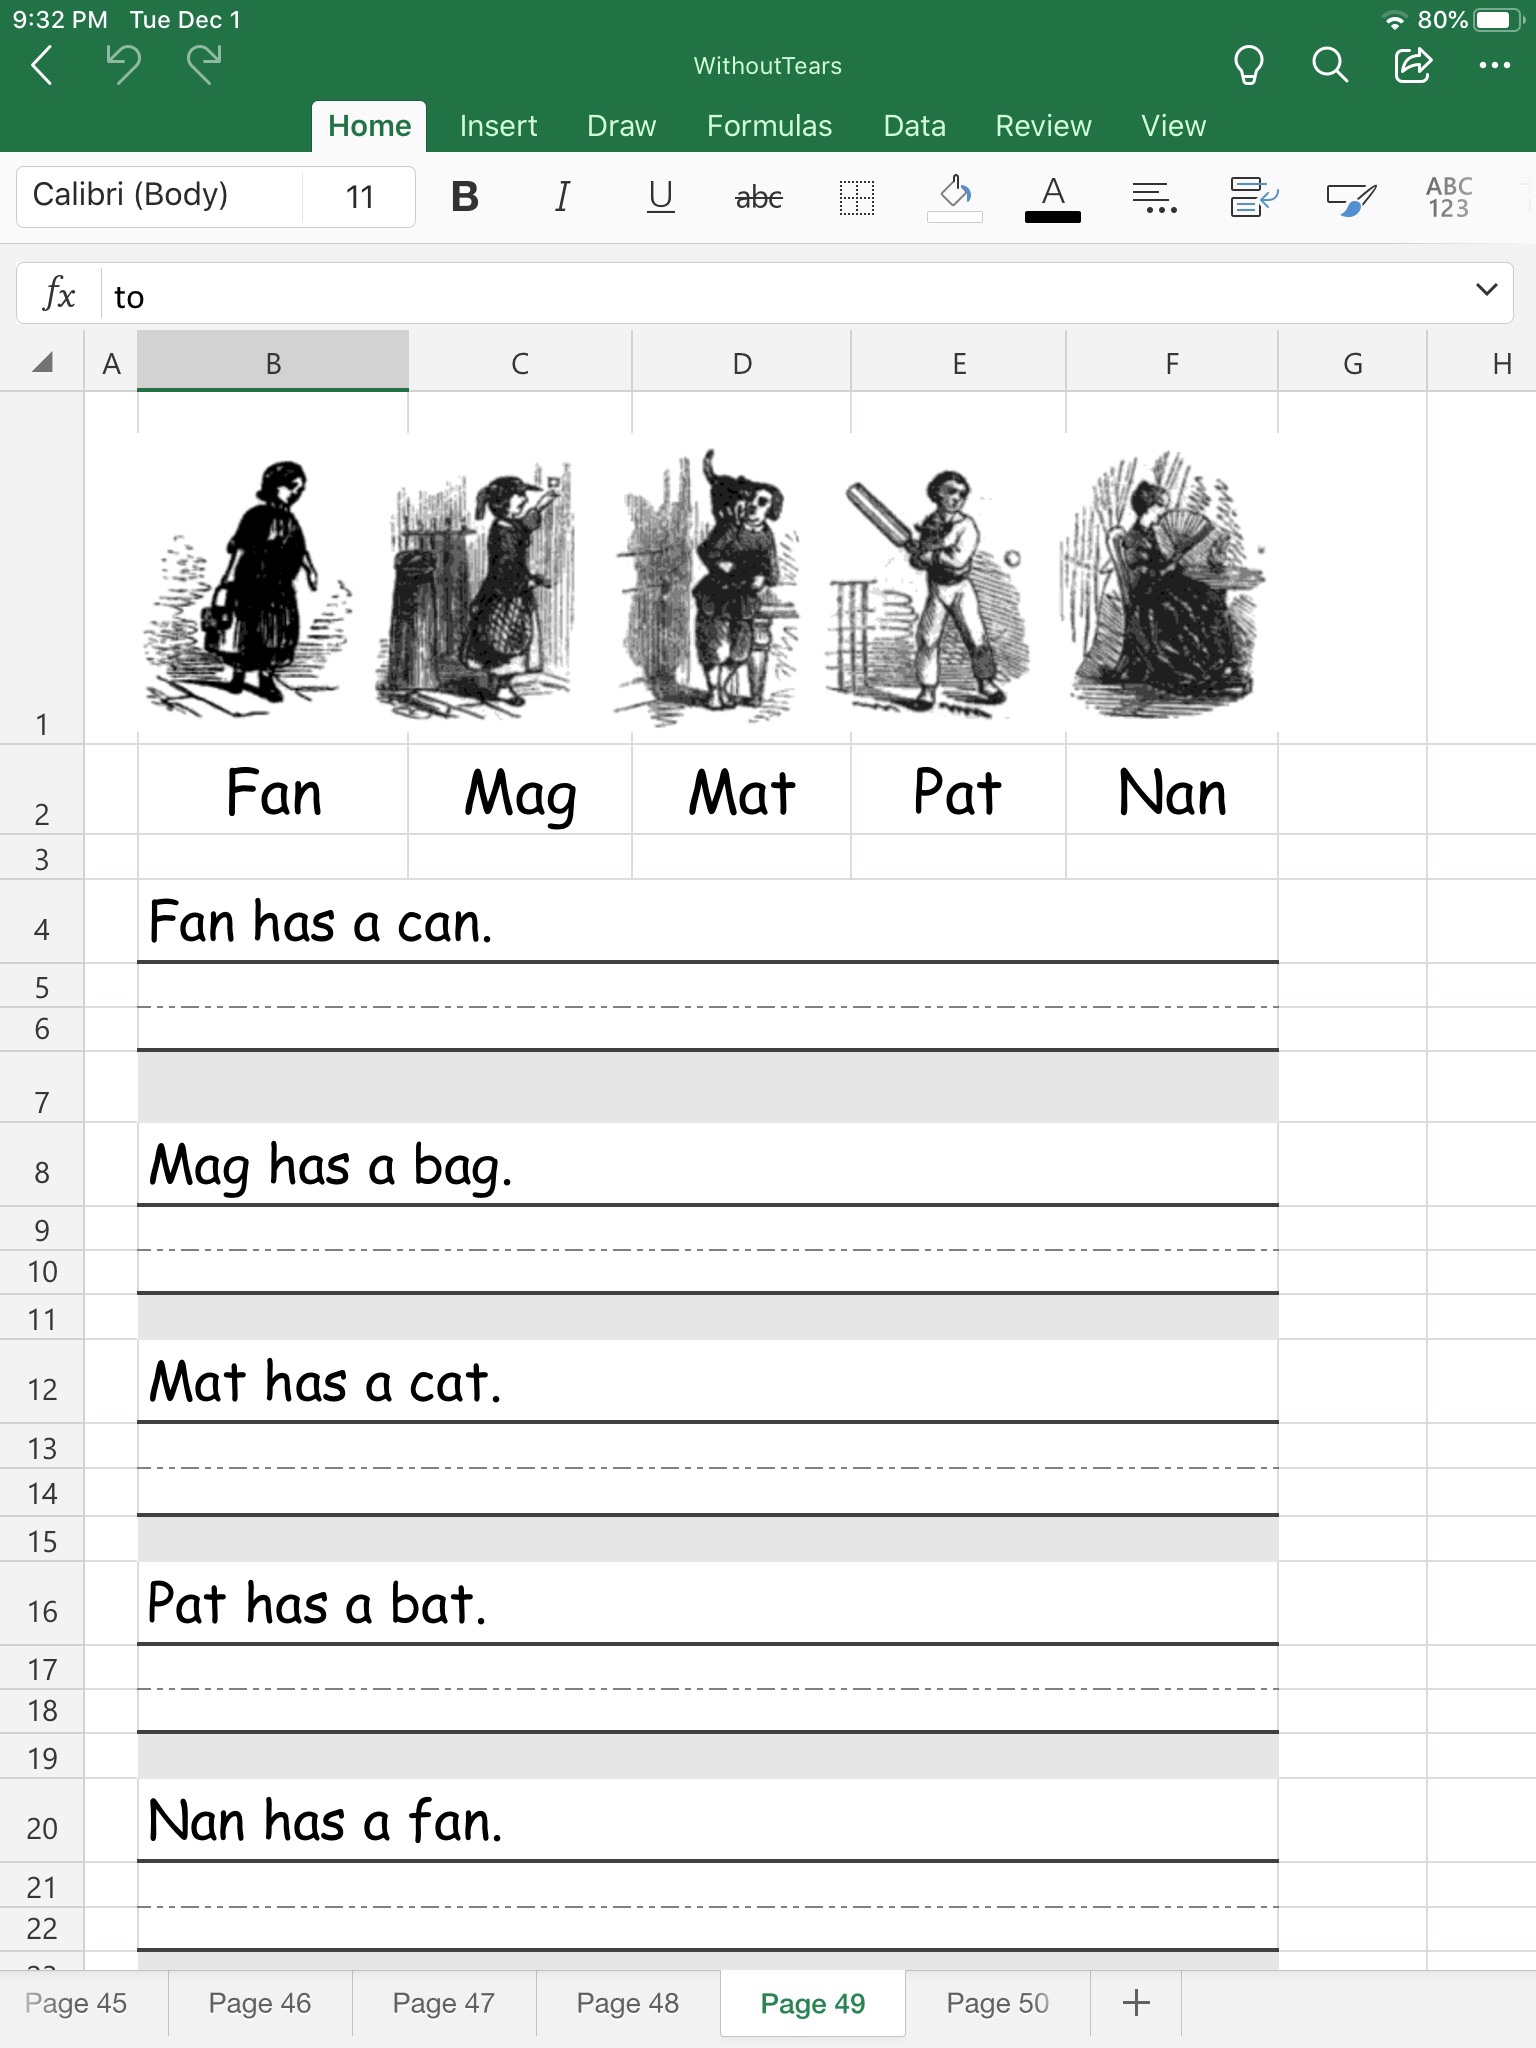
Phonics Friday Part 2 – Configurable word wall
It’s another Friday and I am continuing on my mission to teach my son to read. In Part 1 last week I showed a simple vowel phonics chart I put up in my boy’s room. This allows me to review with him most night his vowel sounds. This week I am adding to his “bedroom classroom” a configurable word wall. I decided to create some big letter tiles that I...
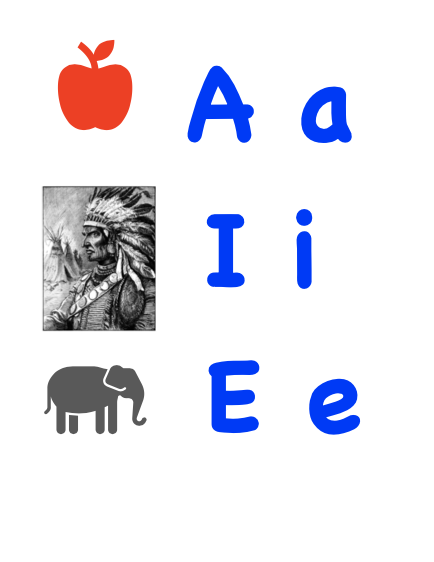
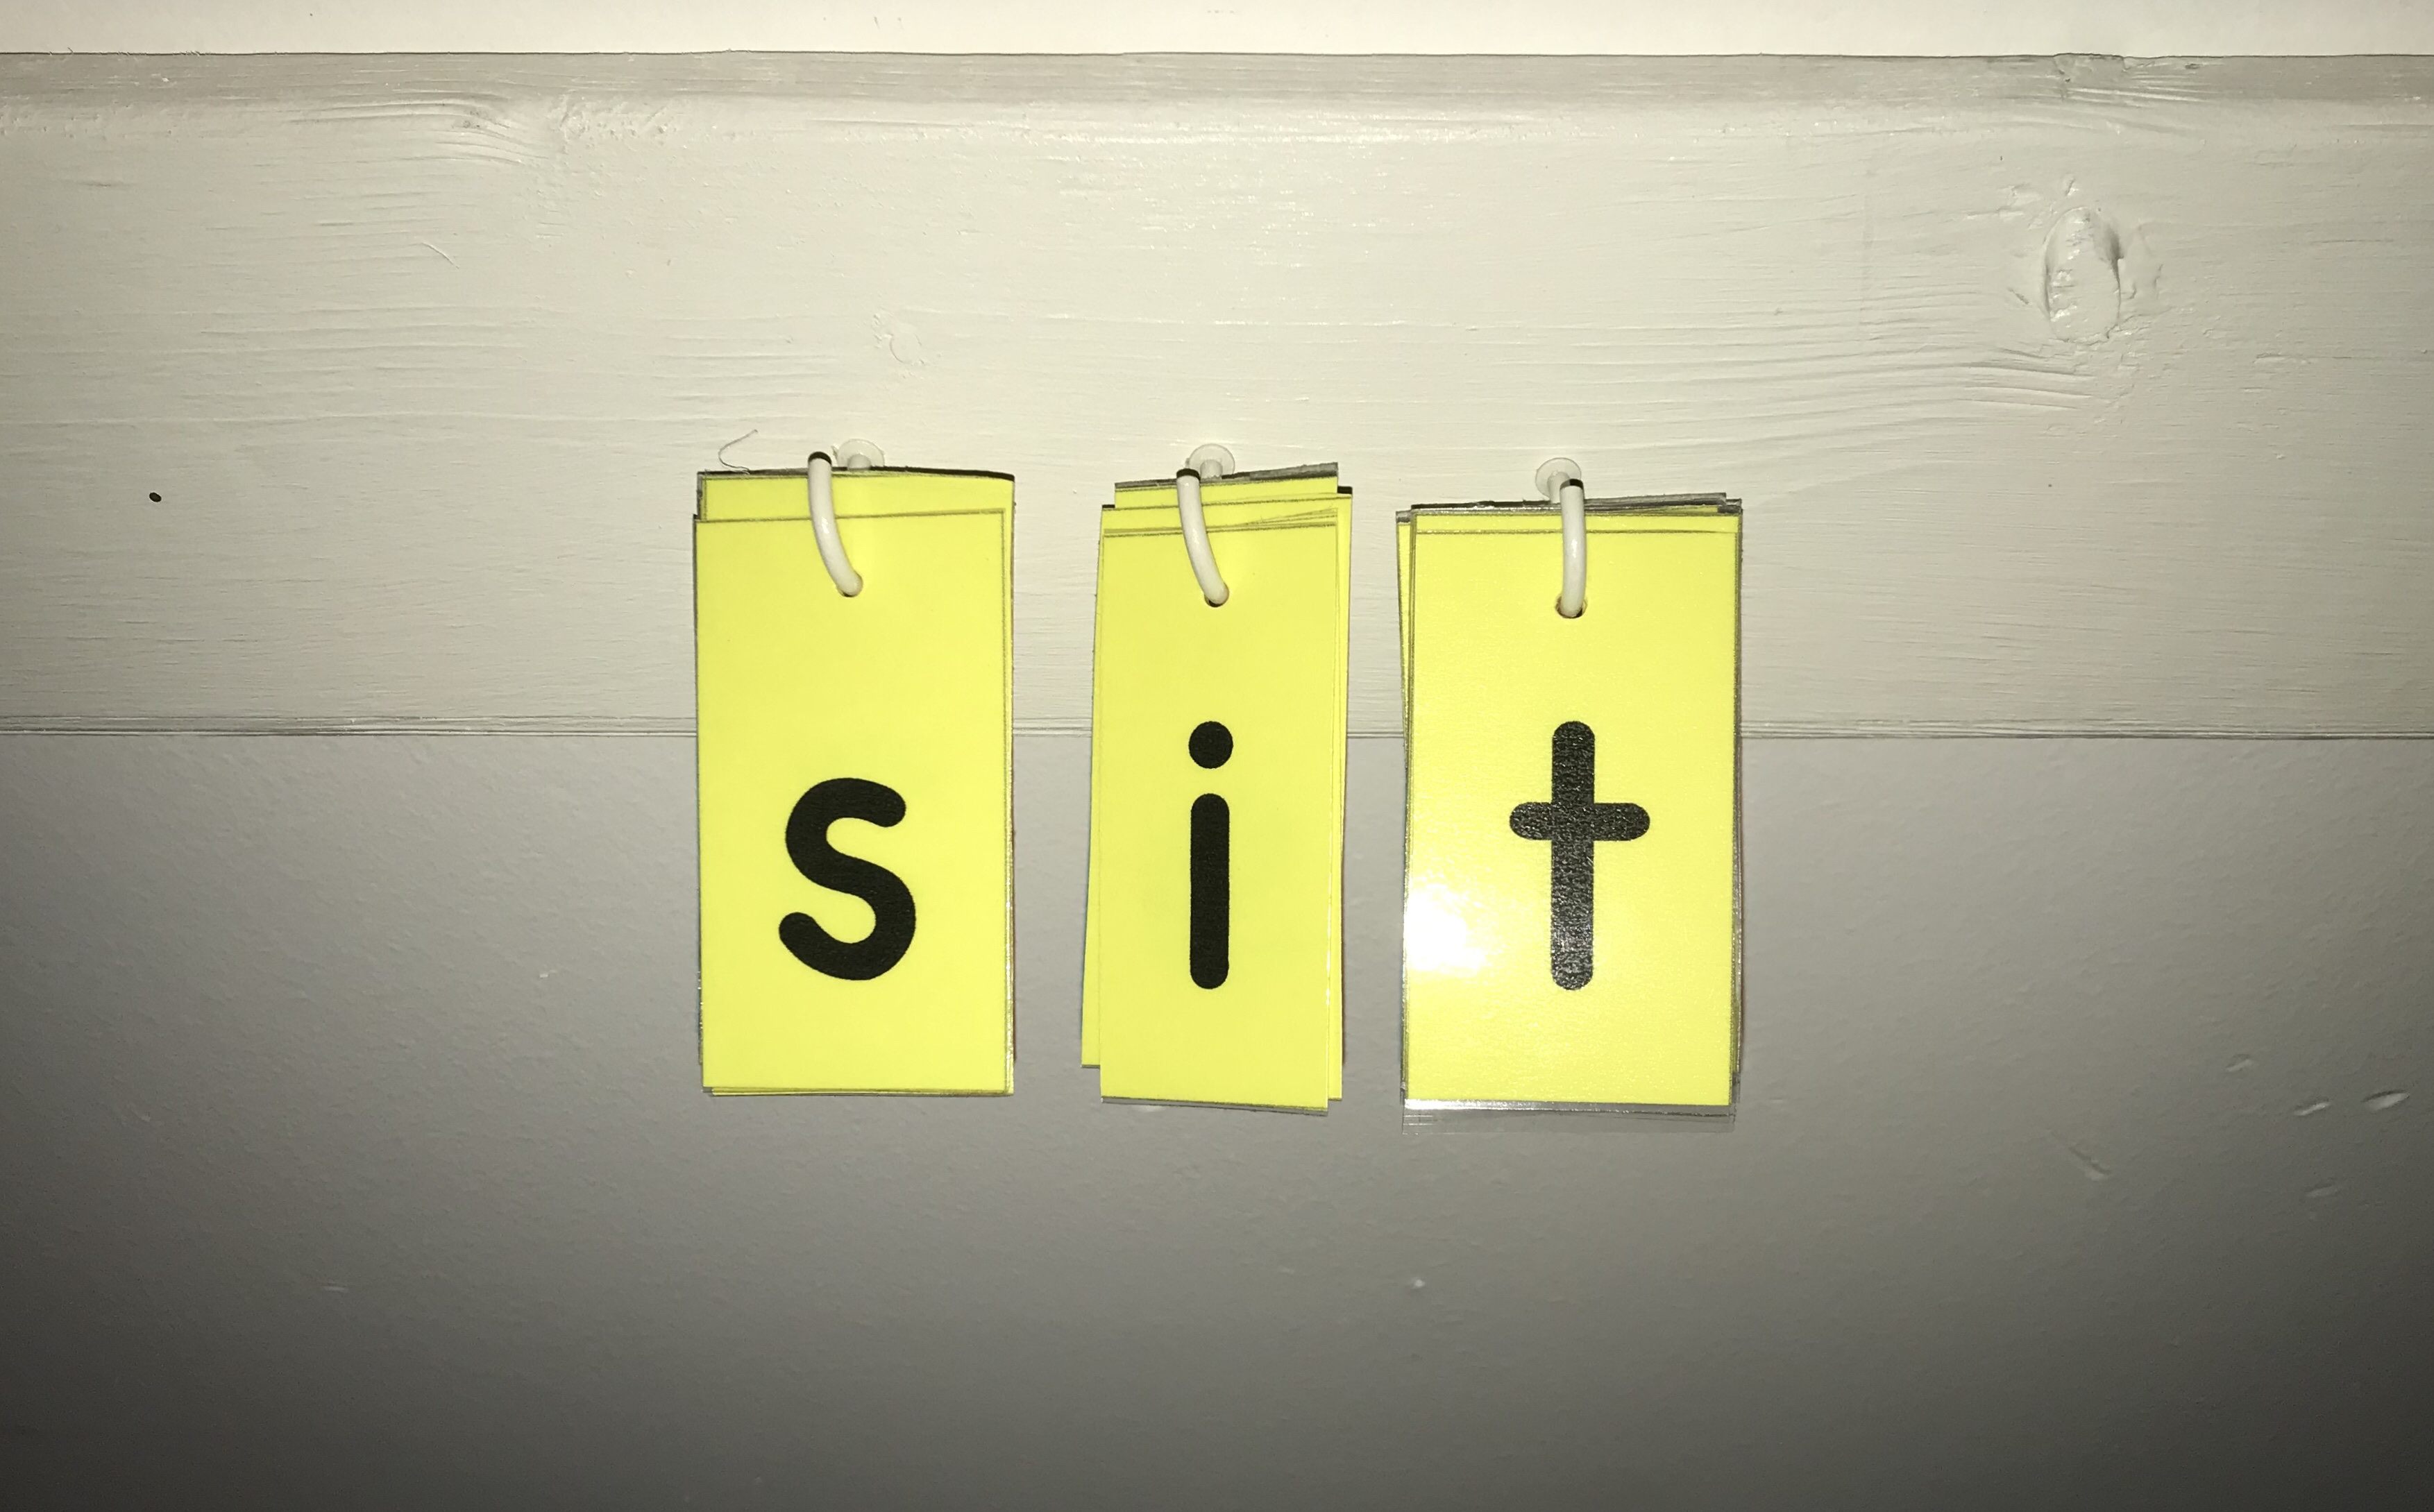
Phonics Friday Part 1 – Bedroom Phonics Chart
Learn how I teach phonics to my son…just like I learned when I was a boy.
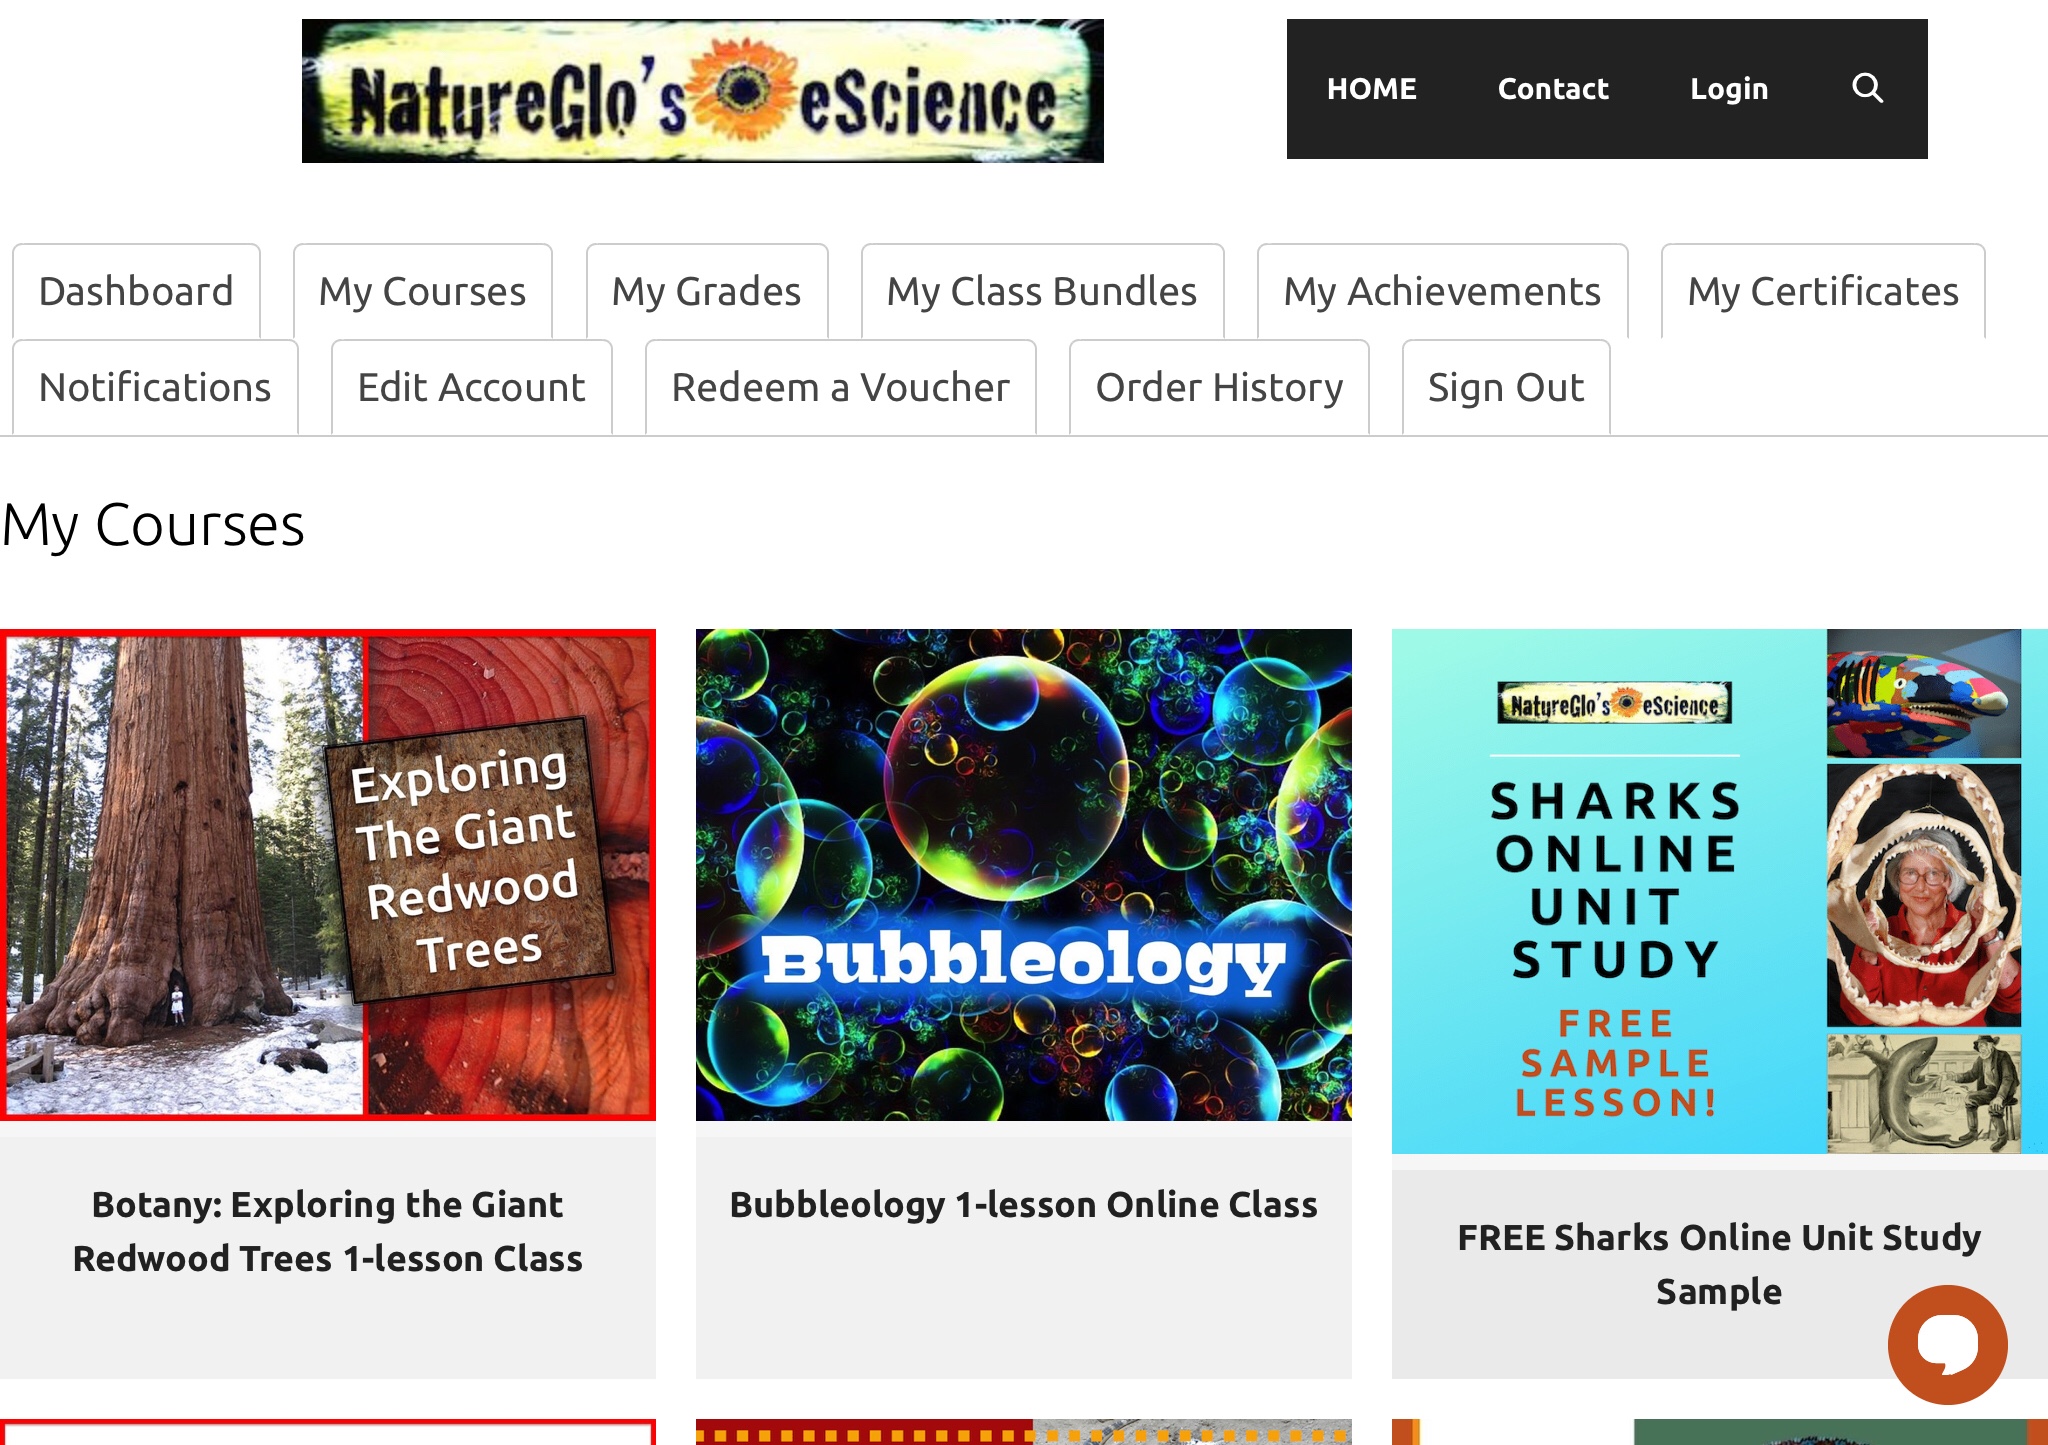
NatureGlo’s eScience MathArt & Science Course review
Disclaimer: I received a FREE copy of this product through the HOMESCHOOL REVIEW CREW in exchange for my honest review. I was not required to write a positive review nor was I compensated in any other way. If you favor a relaxed homeschool science approach, you’ll want to check out NatureGlo’s eScience MathArt & Science Course Bundle from NatureGlo’s eScience. NatureGlo’s eScience is an online E-Science curriculum that has many different unit...