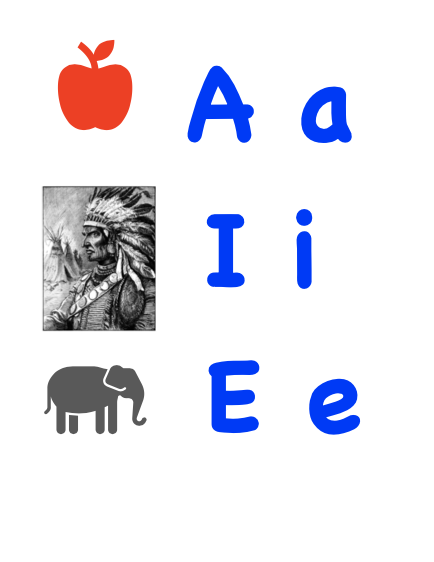
Phonics Friday Part 1 – Bedroom Phonics Chart

I am on a mission to teach my son to read. My older kids eventually learned to read but for my son who struggles with learning difficulties ranging from Dyslexia to auditory processing issues reading is hard! I thought I would share my experiences hopefully every Friday. I also hope to post a free copy of the resource I create for teaching phonics.

While I was casually talking to my wife about teaching our kids to read I asked my wife what she remembered from her school years when she learned to read. To my surprise, she responded with the fact that she didn’t remember and that she just learned. That was an ah-ha moment for me. My wife has always been able to read well. In fact from her description, it sounded like she just picked up a book and started reading.

I on the other hand had to learn to read. It wasn’t always easy. But I remember how I learned to read. I was taught using a structured phonics approach. I attended a grade school where they used A Beka. One of the vivid memories I have from learning to read I still remember it while I am reading to myself or sounding out words subconsciously. What I remember most from my school years learning to read were phonics drills. I don’t remember how often we would work on those drills but I can hear them in my mind. I looked up the charts and they are about the same. You can see a sample one here. I remember it was on a big flip chart at the front of the room. When I think back to learning to read I am convinced that drills helped me learn to read. I decided to go to that method to help reinforce phonics for my son.

So here is a picture from my son’s room of what I am doing.

Wall poster in my son’s bedroom for drilling vowel sounds.

I quickly made this phonics chart last night. I ended up using MS Word but you could do it on the iPad also. In fact, I probably would have used Keynote if I was doing it again. The picture of the Indian I got from a great site for free images here. I let my son pick out the picture so it was something that interested him. I chose vowels since my son keeps mixing up simple words with i and a as a short vowel sound. My goal is to work with him every night before bed. I make him say with me “a-a” in apple “i-i” in Indian. So far it works pretty well. The only change I think I will make to the poster is to put the letter first and then the picture. Also here is another great resource for free phonics charts.

What do you think of my phonics chart? What have you done to help your child learn to read with phonics? What do you remember from when you first started to learn to read? Was it easy for you or hard?

If you would like more information on teaching phonics and teaching boys to read I suggest you check out my post on free reading resources. Also here is a free copy of my phonics vowel poster. If you would like to see more of what I am doing to teach my son to read with phonics check out Part 2.

How to use Keynote on the iPad for flashcards

20110909-083749.jpg

Keynote on the iPad

I was trying to help my son learn his multiplication facts and I was thinking about how I could make customized flashcards. I know there are a number of flashcard apps but I thought why not use the Keynote App already on my iPad. I took a few screen shots to show how I did it.

Setup the first slide

I started out using the dark slide template but it was too dark.  I then changed to the chalkboard template. Unfortunately the font didn’t look very good so I had to customize the font.  You can play around with some of the other built in templates and find one that works the best for your application.

Format the text

To change the appearance of the text, first select the text and then press the round i at the top of the screen.

20110909-083715.jpg

The options box comes up and there are several different formats.  Unfortunately you must scroll to the bottom of the options box to to edit the font.

Once you select “text options” at the bottom of the format box, you can change the font.  I increased the size to 200 pt font which seemed to look the best.

I also had to change the font from the chalkboard writing to something normal.

Copy and pasting slides

Once you have the basic format then I recommend copying the slides and then editing the text for the other math facts. To copy the slide select the slide you want to copy on the left hand side.  When the slide is selected an option will come up to copy the slide or paste it.  Select copy and then paste below.  If you select a slide and select paste then the slide will be pasted in after the slide that is selected.

Once I had all the multiplication facts I needed I decided I would copy slides at random so they would not be in order.

20110909-083844.jpg

Add animation

After I was finished I thought it might be nice to have the answer appear. To do this I inserted a text box with the answer. I then had to increase the font. To add an animation to the answer, you first select the text and then touch the diamond at the top. This allows you to choose different transitions. Select “Appear” or another transition and now the answer will appear when you swipe to the next slide.

20110909-083853.jpg