How to create an iBook on the iPad with Pages
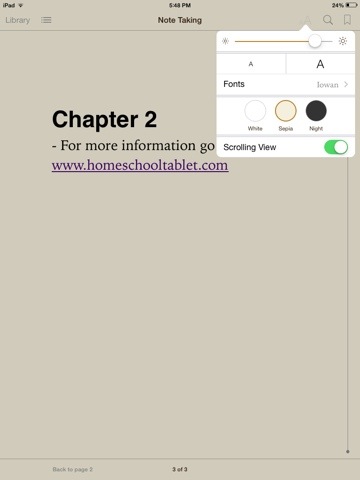
This last weekend I had to give a talk and unfortunately my printer refused to print! My next option was to use my iPad. I really did not want to use Pages on my iPad for my talk so I discovered that you can export a documents right from Pages into iBook! (With one small intermediate step) Once my document was in iBooks it was easy to increase the font size. This made reading my notes was easy on the iPad.
Setting up the Document:
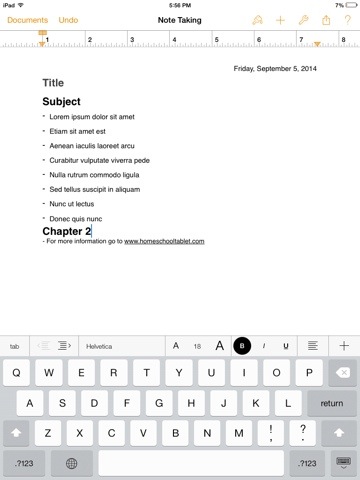
Before exporting to iBooks, I would recommend adding chapter headings to your document. I just used heading 1 and titled it Chapter 1. I added three chapters.
Open Pages document in Another App:
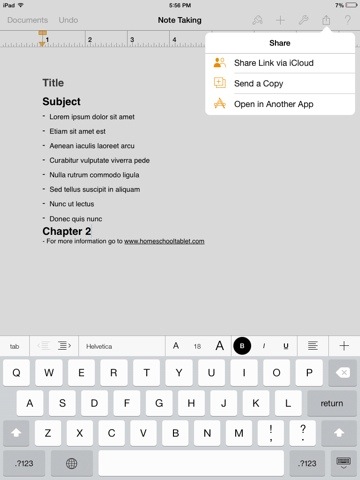
Once you have the document finished you can export to another App. Select the box with the arrow pointing up located in the upper right side of the screen as shown below.
Choose ePub format for iBooks.
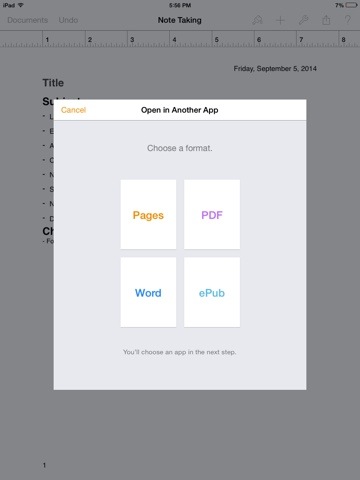
You are then offered several different format options. You can either convert the document to PDF or ePub for iBooks. I chose ePub since it allows you to increase or decrease the font size and it also allows for headings.
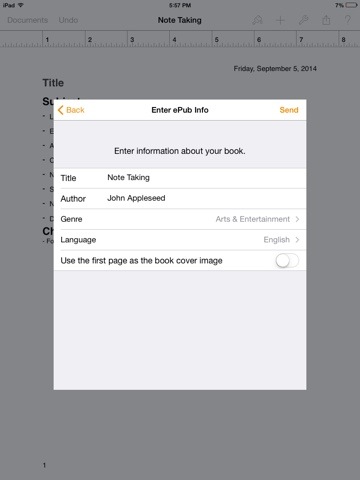
You will then need to enter some information about your document. Important: Make sure that the option “Use the first page as the book cover image” is not selected! I accidentally selected this and found out that it makes the first page unreadable because you only see the first page when you look at the bookshelf.
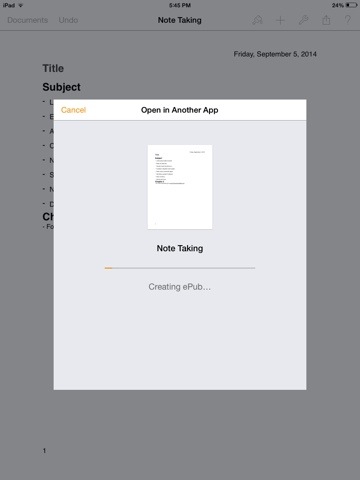
Your document will now be converted tot he ePub format which can be opened in iBooks.
Make sure you do not include important information in the header and footer since they are removed when Pages creates a ePub file.
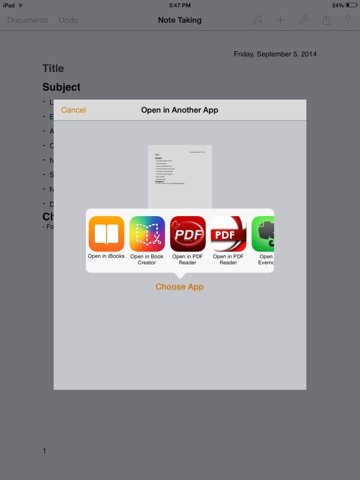
Select which App you want to use to view your document:
Select iBooks to open your Pages document in iBook. Once opened the document is then saved to your iBooks bookshelf.
Now you have a simple ePub book that can be read in iBooks.
